Wick pins simplify the candle making process in many ways and help achieve a perfectly centered wick, which contributes to a more even burn. This tutorial shows exactly how pillar wick pins are used with a variety of candle molds.
3” Diameter Round Molds:
You will need:
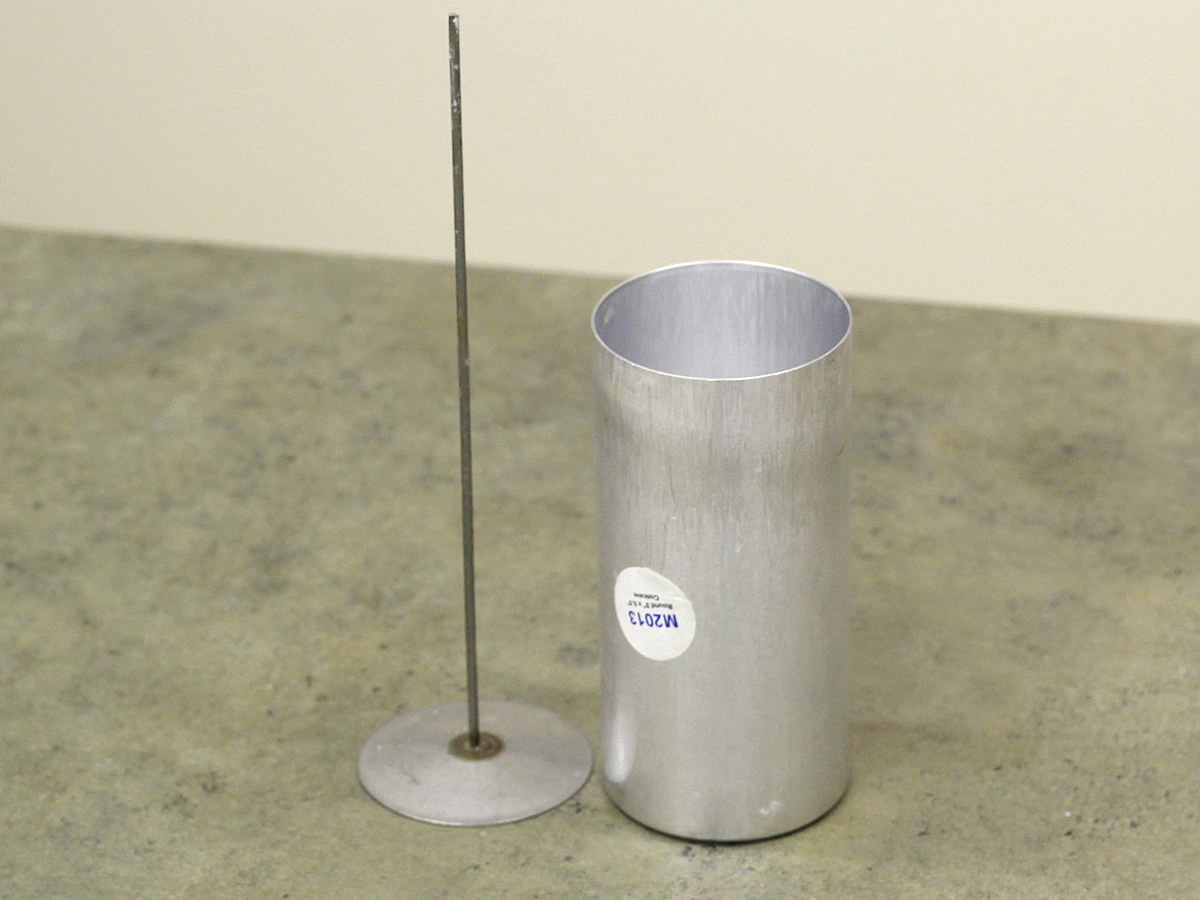
-3” Diameter Round Mold (Seamless works best but the Sheet Metal Molds will also work)
-3” Wick Pin (Height should be appropriate for the height of your mold)
–6” Pre-tabbed Wick OR Raw Wick and Wick Tabs
–Mold Sealer
–Candle Wax (We recommend Pillar Blend – IGI 4625 or another wax suitable for pillar candles such as Ecosoya Pillar Blend, or Feather or Tortoise Shell Palm)
Step 1:
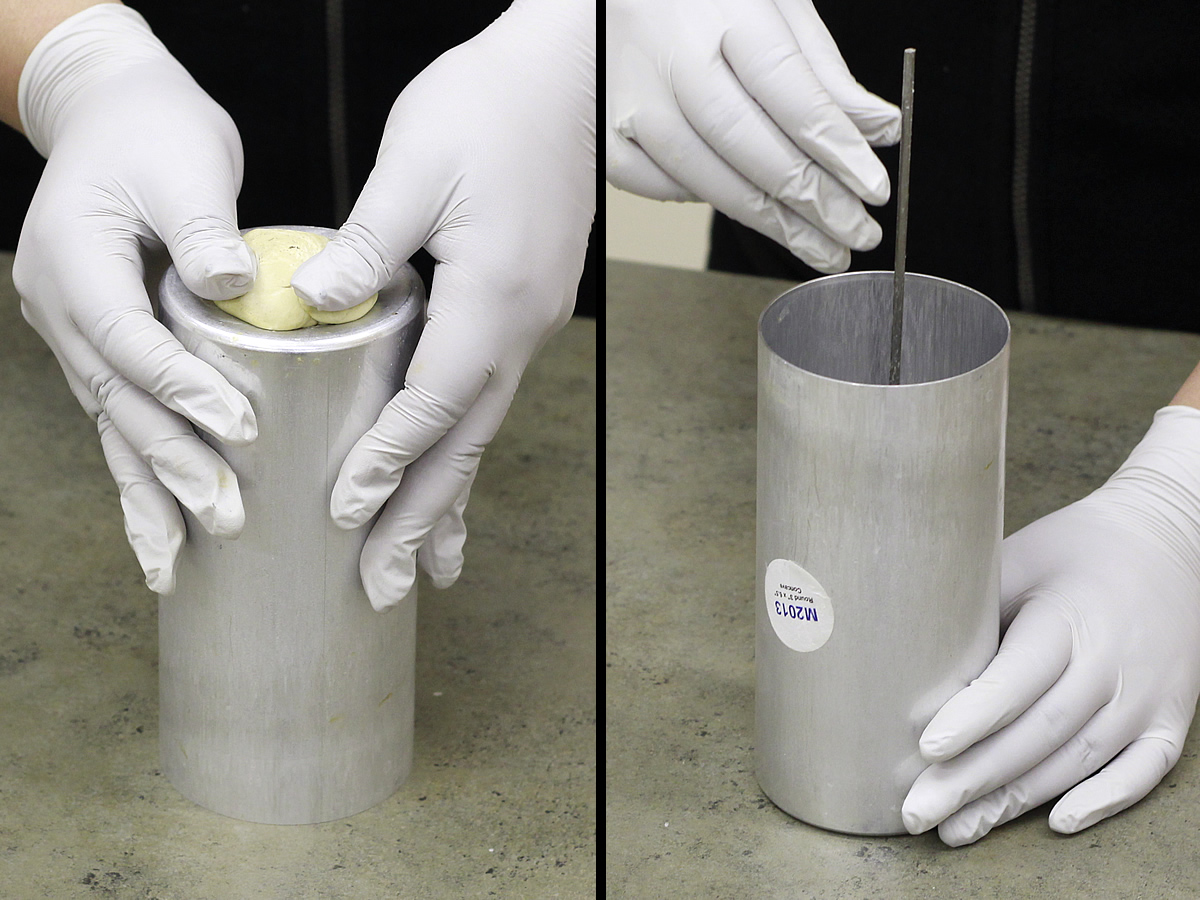
Melt your wax in a double boiler. While it is melting, place the wick pin inside of the candle mold. Cover the wick hole with mold sealer on the outside of the mold.
Step 2:
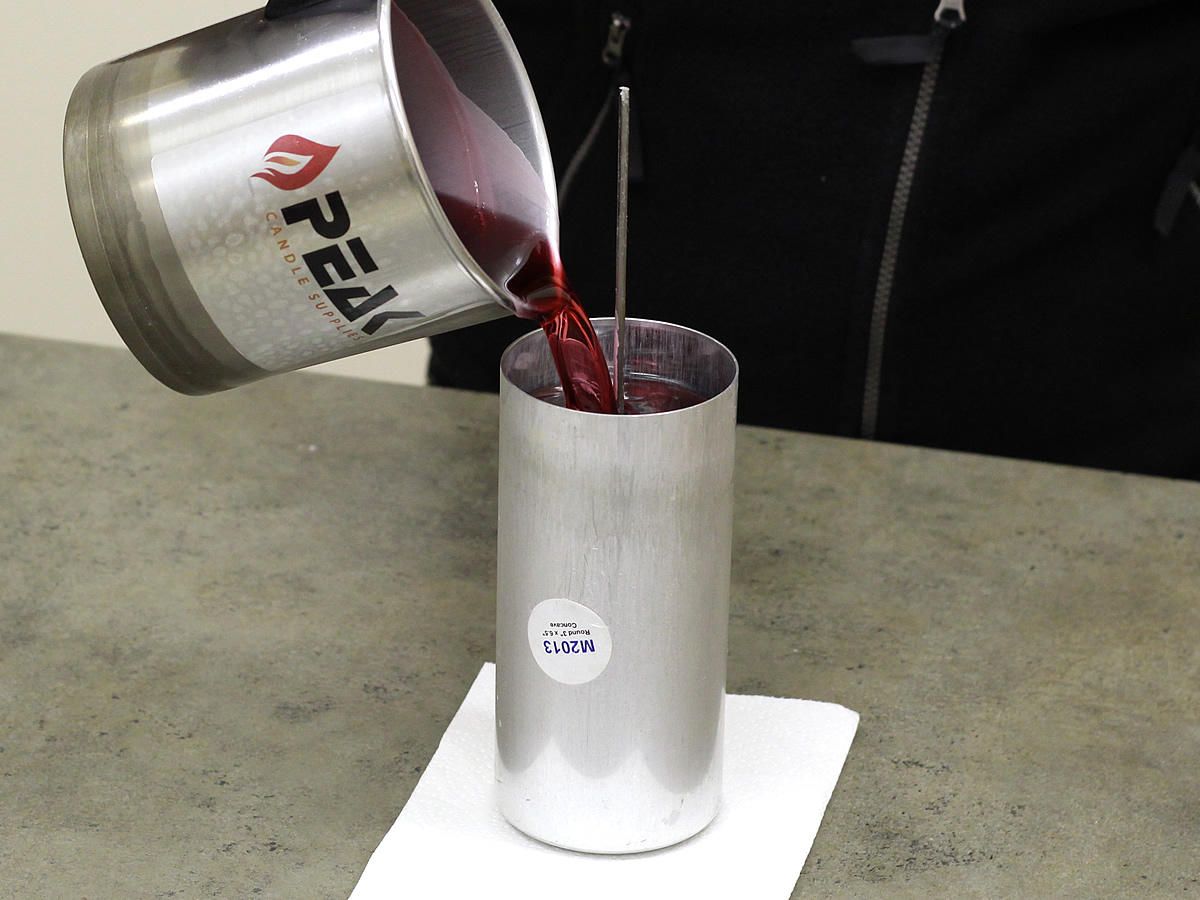
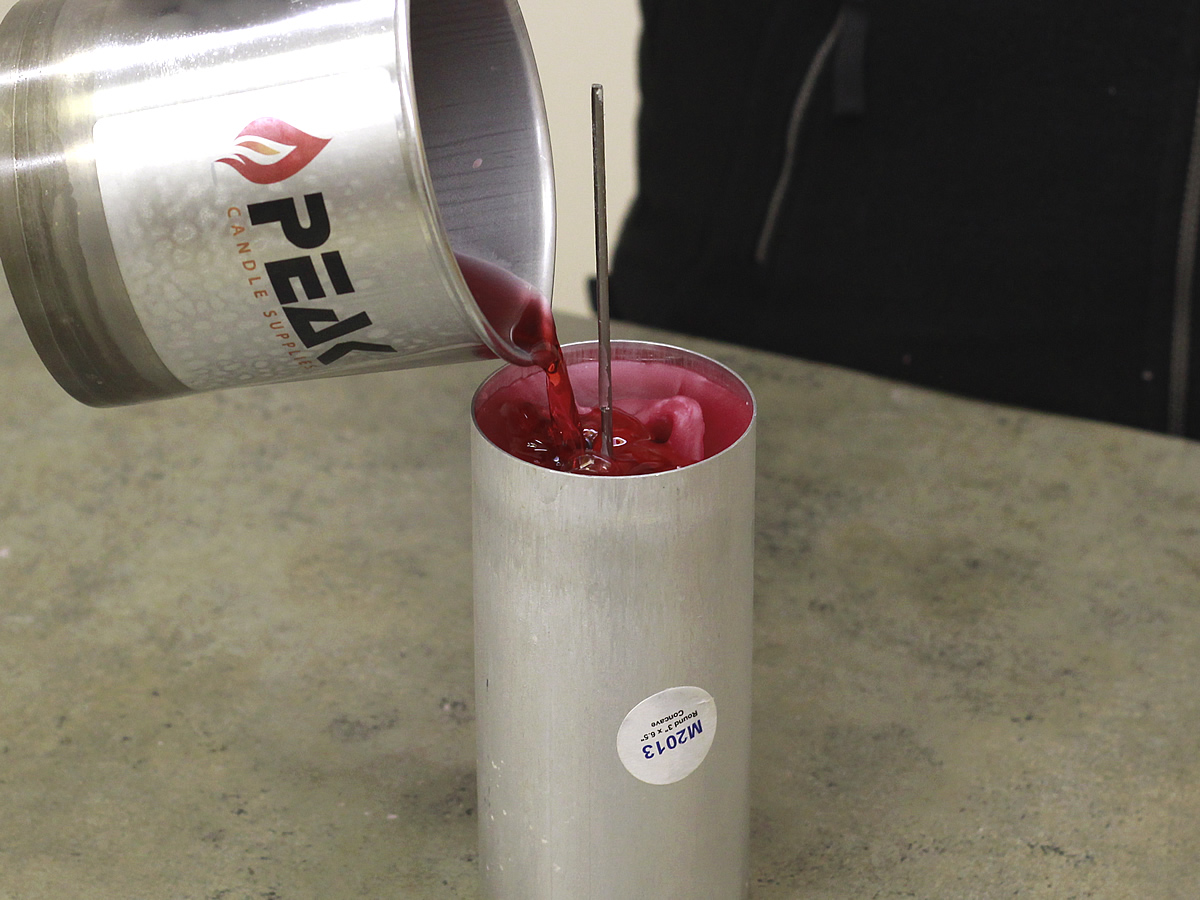
Once your wax is fully melted, add your desired fragrance and colorant and mix thoroughly. Pour your wax directly into the mold to the desired height. Save some wax for a second pour because the wax will shrink, forming a sink-hole. Be sure to poke relief holes during the cooling process, just as you would with any pillar candle.
Step 3:
When the first pour is cool, re-melt your leftover wax and fill again up to the original pour line.
Step 4:
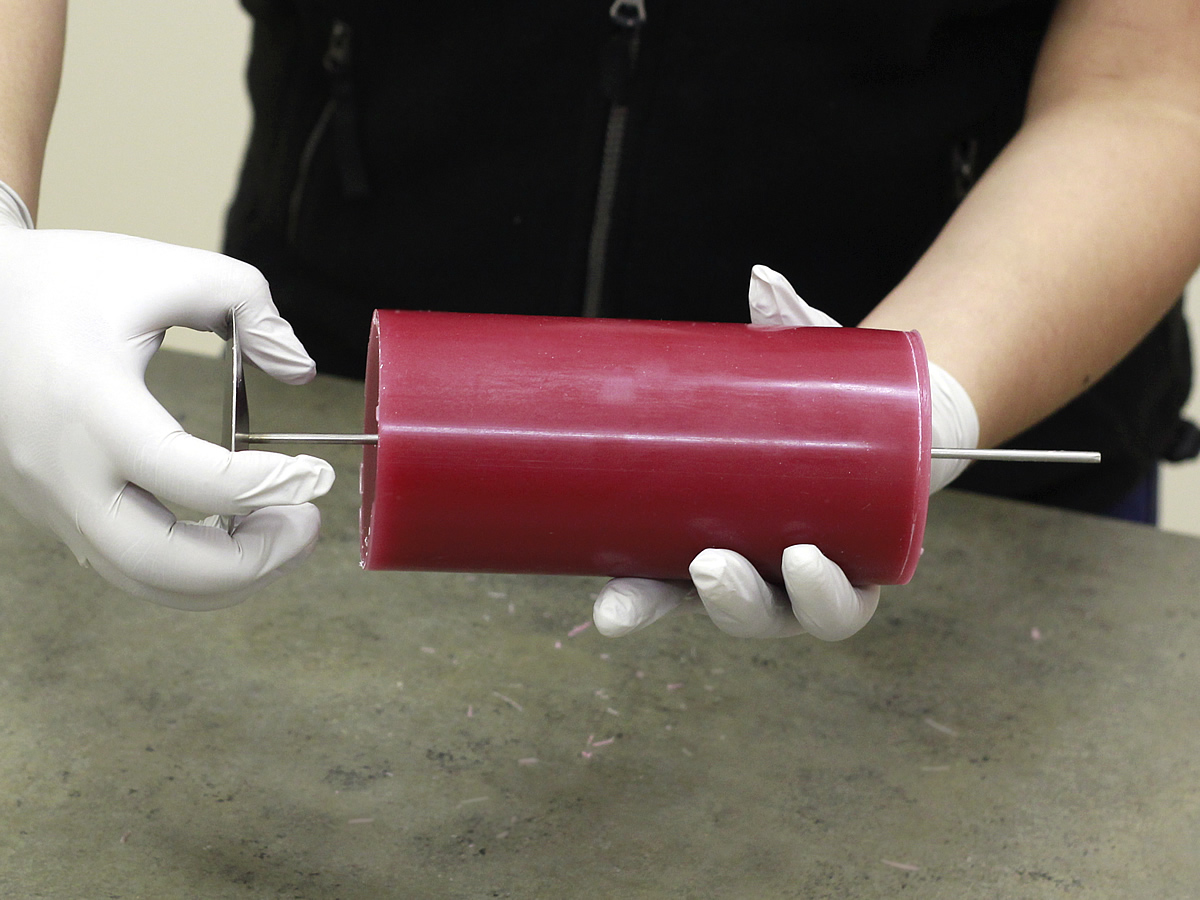
When the wax is completely cool, remove the candle and pin from the mold. Gently pull the pin out of the candle.
Step 5:
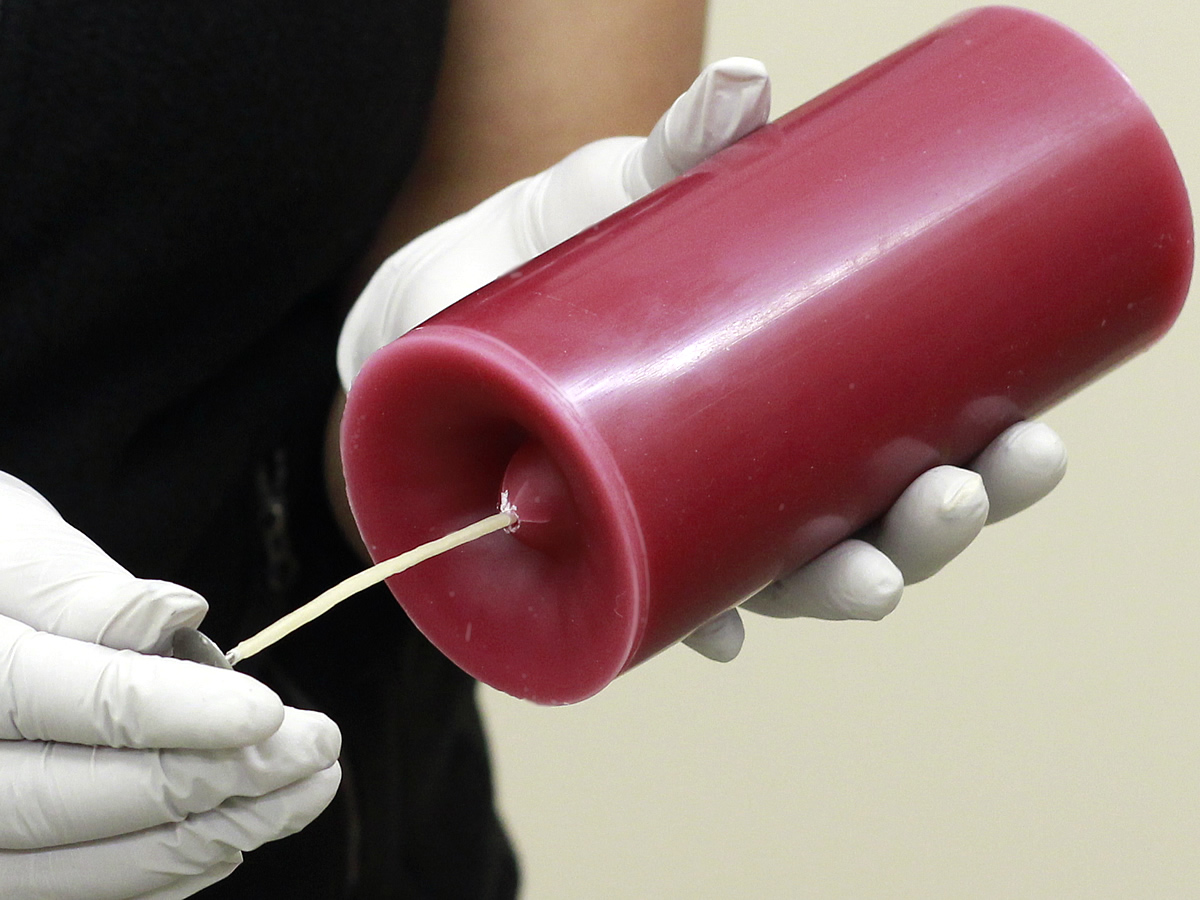
Pre-tabbed Wicks: Insert your pre-tabbed wick all the way up through the bottom of the candle and press firmly to secure the tab against the bottom.
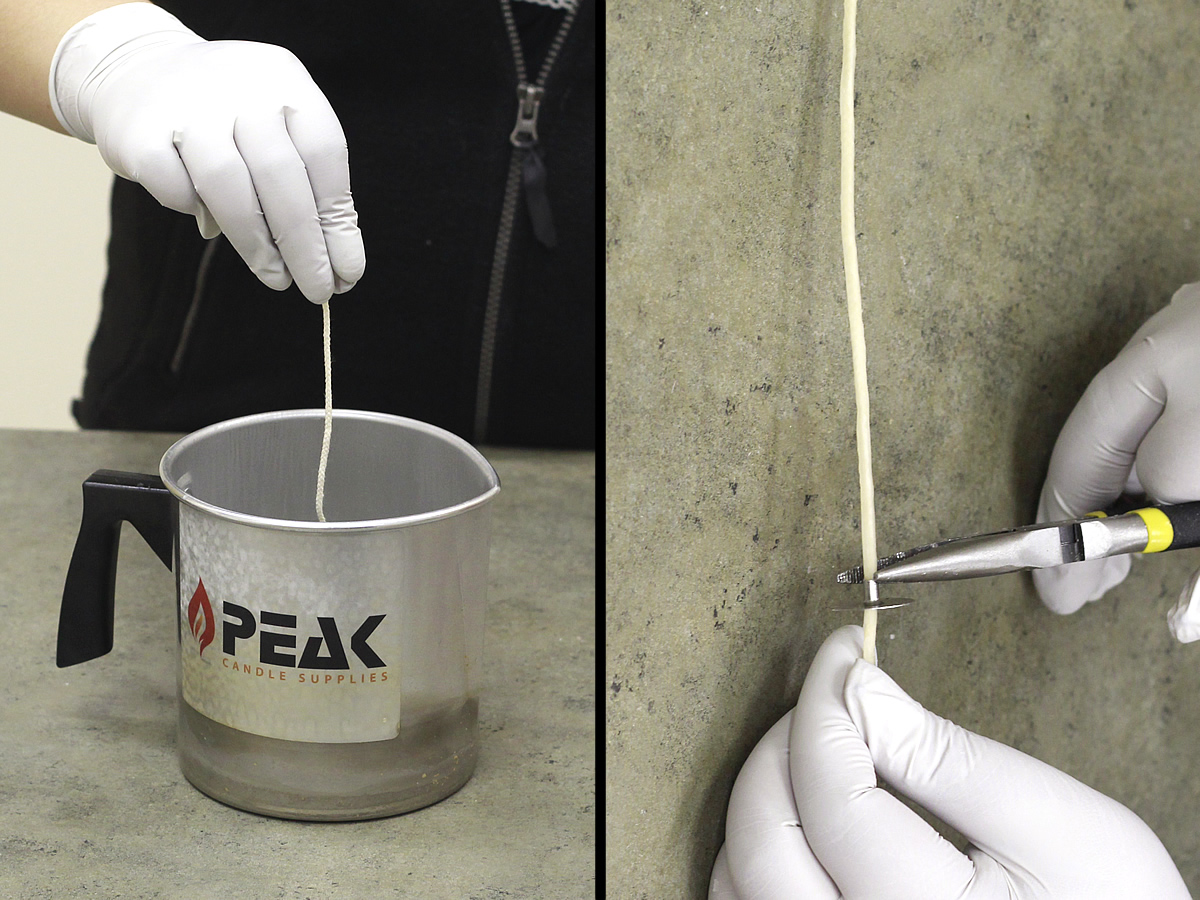
Raw Wicks: Cut your wick to the size of your candle, leaving a little extra length. Dip the wick in some melted wax and lay it out straight to cool. You may need to do this a few times until it is primed. Insert the wick into a wick tab and pinch the short tube on the tab with pliers to secure the wick. Insert through the bottom of the candle and press firmly to secure the tab against the bottom.
Trim the top of the wick to ¼”. Now you are done!
Other Mold Sizes/Shapes:
You will need:
–Candle mold of your desired size and shape
-3” Wick Pin (Height should be appropriate for the height of your mold)
–6” Pre-tabbed Wick OR Raw Wick and Wick Tabs
–Mold Sealer
–Candle Wax (We recommend Pillar Blend – IGI 4625 or another wax suitable for pillar candles such as Ecosoya Pillar Blend, or Feather or Tortoise Shell Palm)
Step 1:
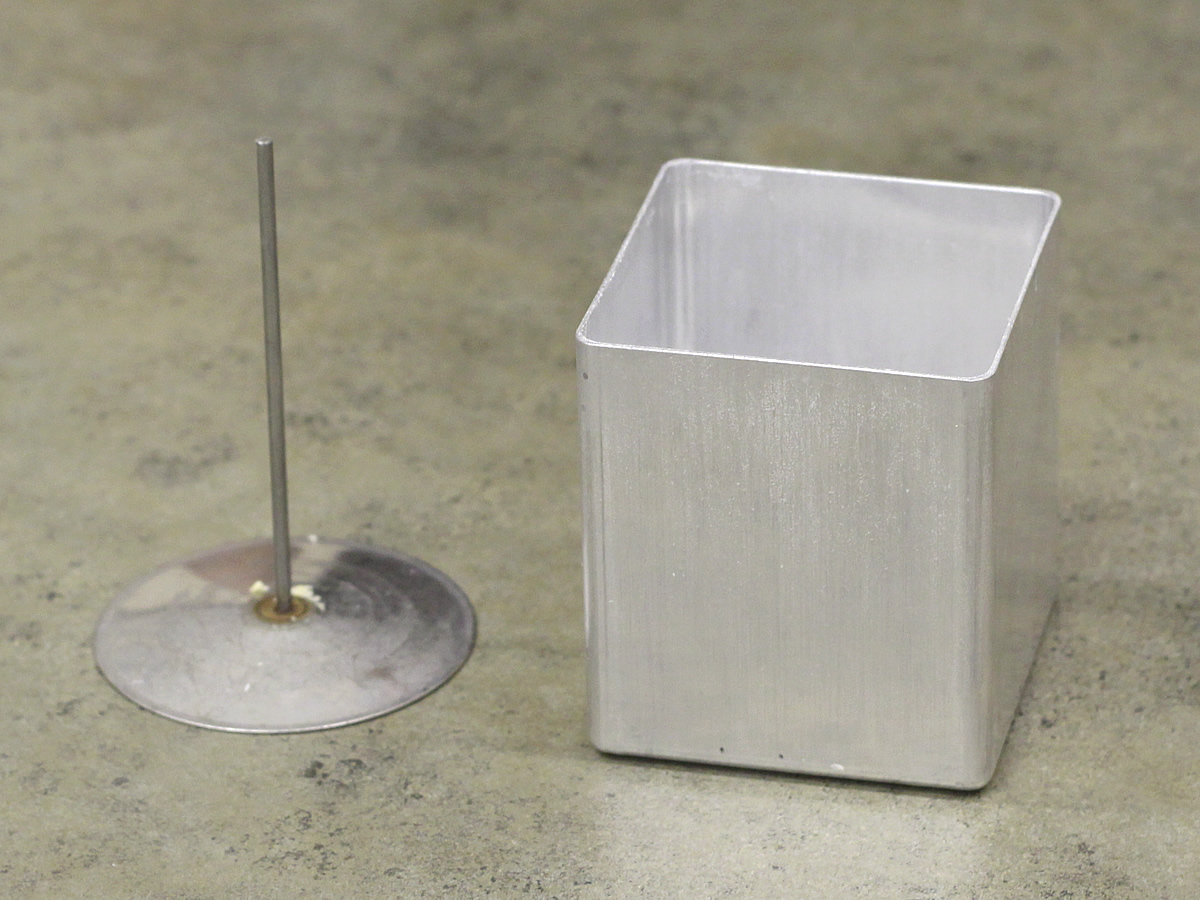
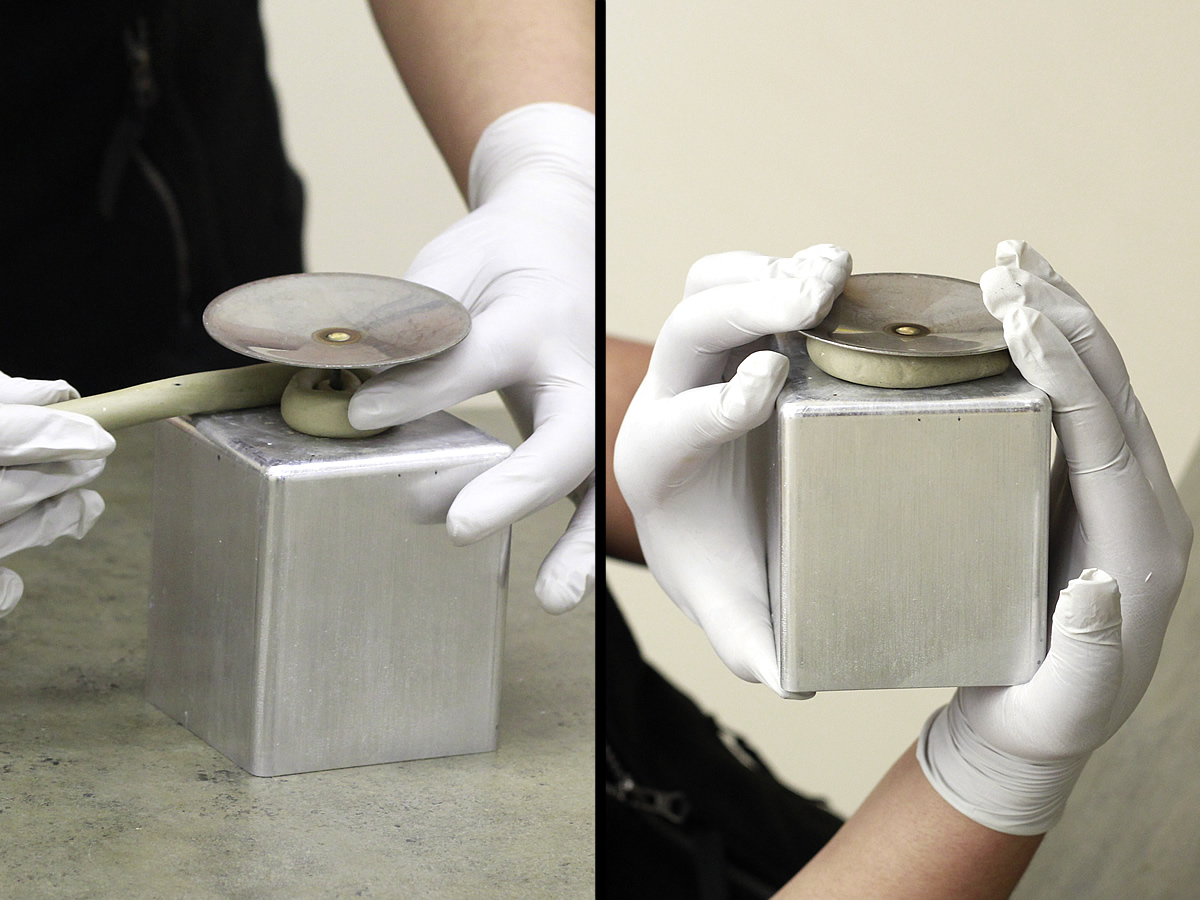
Melt your wax in a double boiler. While it is melting, insert the wick pin up through the bottom of the mold through the wick hole. Take some mold sealer and roll it out into a long strip, about the size of an earthworm, and wrap it around the wick pin. Press the base of the pin firmly against the bottom of the mold with the mold sealer in between to form a tight seal.
Step 2:
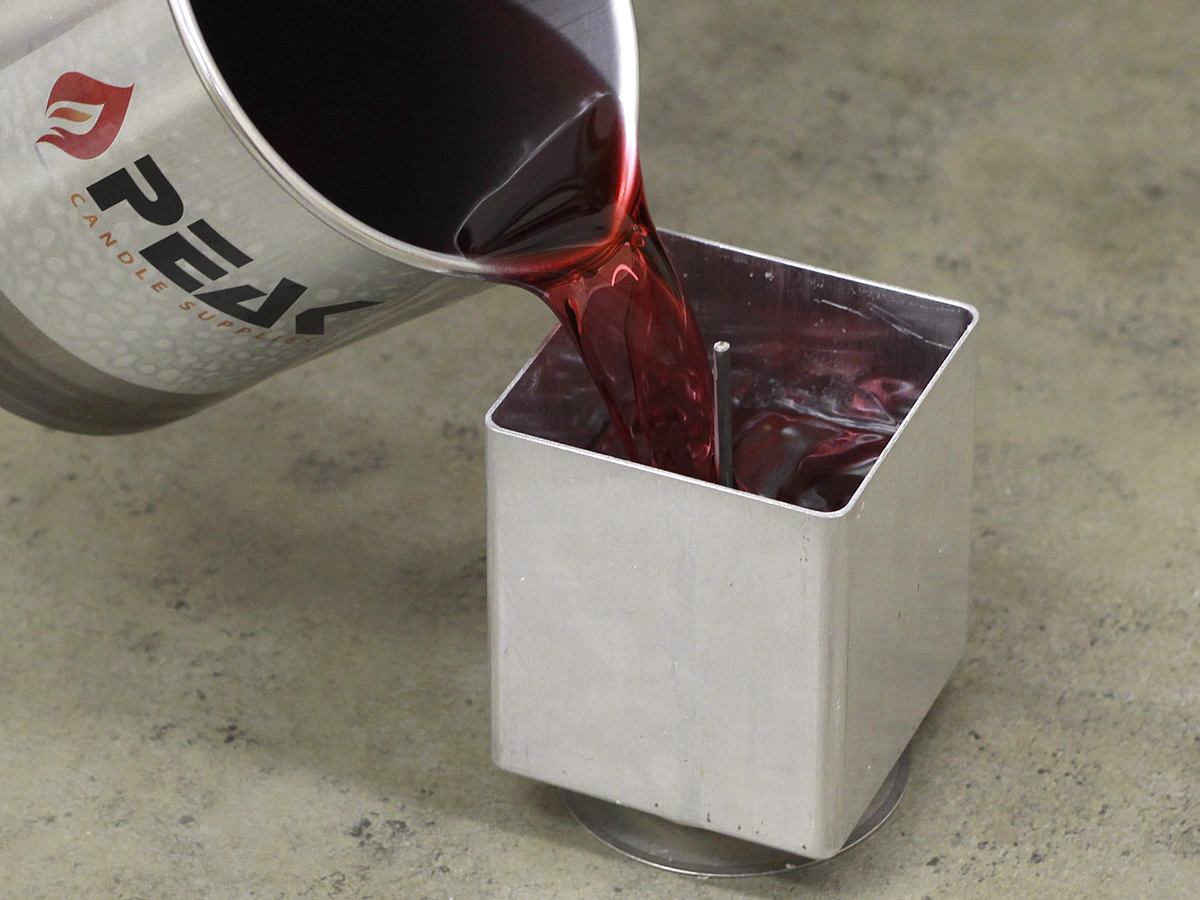
Once your wax is fully melted, add your desired fragrance and colorant and mix thoroughly. Pour your wax directly into the mold to the desired height. Save some wax for a second pour because the wax will shrink, forming a sink-hole. Be sure to poke relief holes during the cooling process, just as you would with any pillar candle.
Step 3:
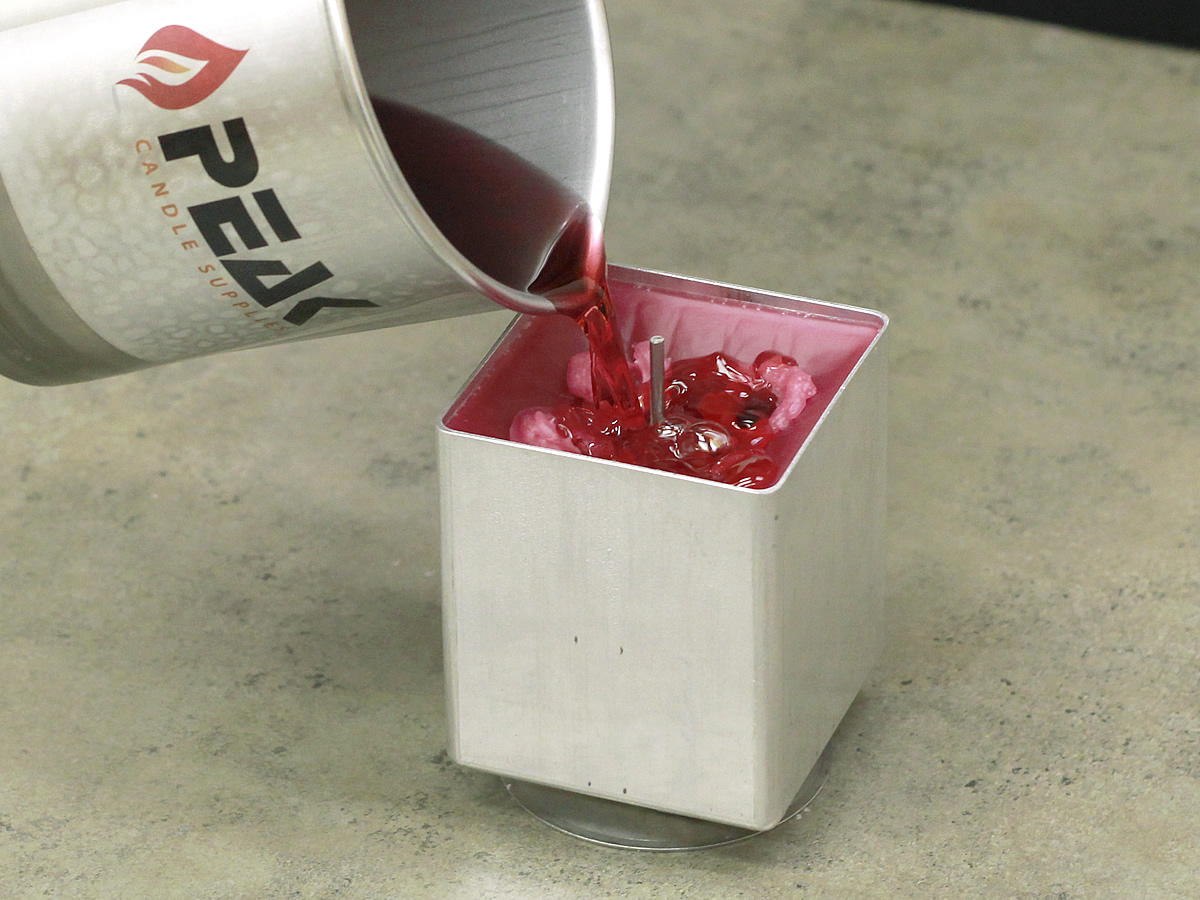
When the first pour is cool, re-melt your leftover wax and fill again up to the original pour line.
Step 4:
When the wax is completely cool, remove the wick pin from the mold, and then the candle itself. If you have trouble removing the candle without a wick to tug on, try putting it in the freezer for about 10 minutes and try again. Remember to squeeze the sides of the molds gently to help the wax release from the sides of the mold.

Step 5:
Pre-tabbed Wicks: Insert your pre-tabbed wick all the way up through the bottom of the candle and press firmly to secure the tab against the bottom.
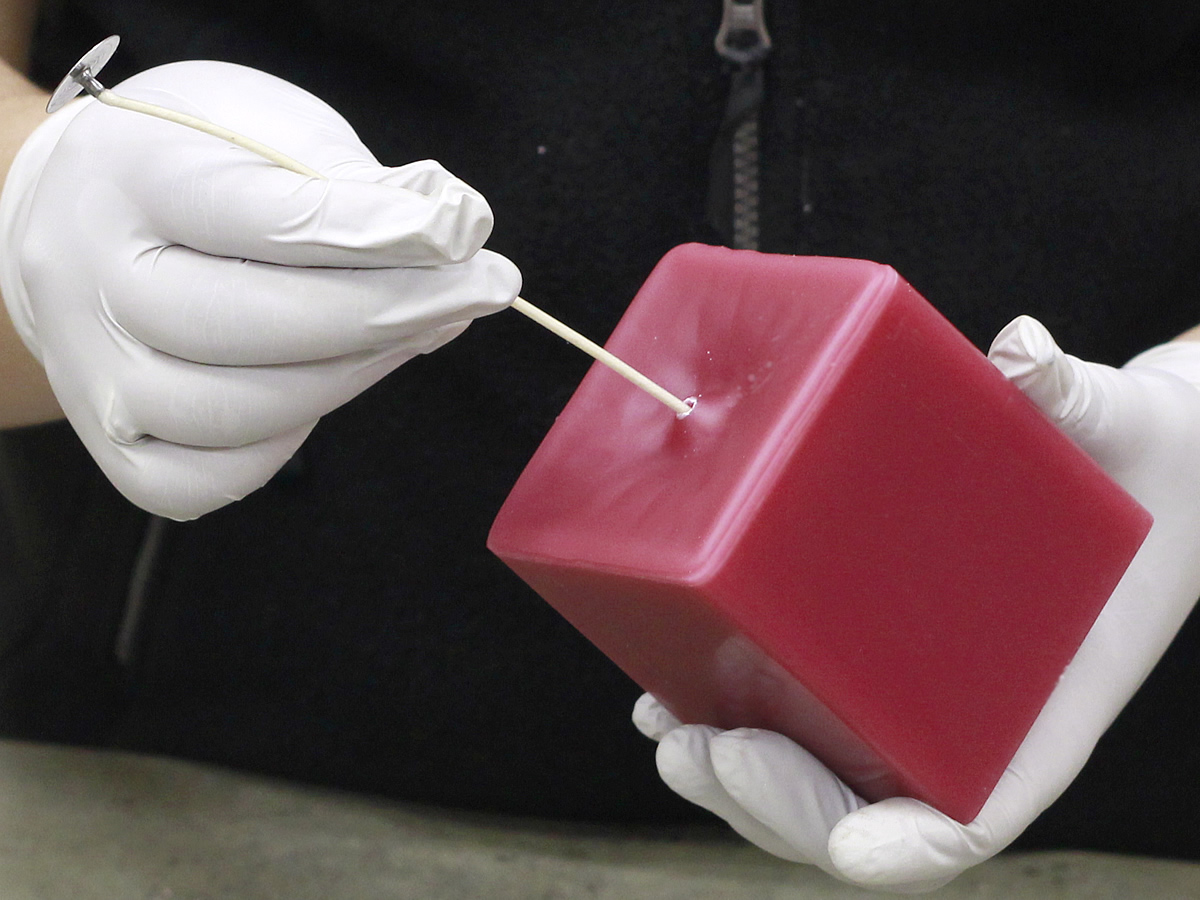
Raw Wicks: Cut your wick to the size of your candle, leaving a little extra length. Dip the wick in some melted wax and lay it out straight to cool. You may need to do this a few times until it is primed. Insert the wick into a wick tab and pinch the short tube on the tab to secure the wick. Insert through the bottom of the candle and press firmly to secure the tab against the bottom.
Trim the top of the wick to ¼”. Now you are done!


Gracias, se ve claro.