Step by step instructions on making chunk candles.
In addition to the normal items required for standard pillar candles,
You will need:
- Cookie Sheet with about a half-inch lip.
- Silicone spray or Pam
- A utility knife or a small paring knife.
- Suggested wax IGI-1343
- Double Boiler
- Thermometer
Instructions:
Step 1: Melt Wax and add dye or fragrance oil as desired.
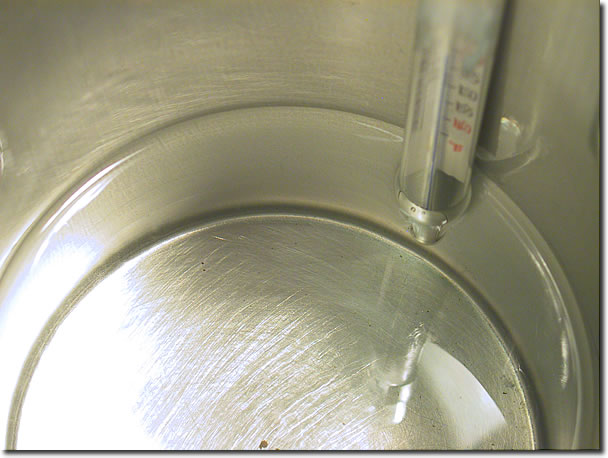 Using a double boiler and a thermometer, melt your wax and bring it to a temperature of about 190 degrees F. Add any additives, dye and fragrance oil that you have chosen and mix well.
You can scent and dye the chunks, the overpour wax, or both.
 For this project, I selected IGI 1343 to make the chunks as well as the overpour. If no additives are used, this wax is somewhat translucent and results in brilliant colors that have some depth to them. If you are using this wax and you intend to add fragrance oil, then the addition of vybar 103 or Universal Additive will be required. These additives will increase the opacity of the wax. In this project, I elected to forgo the use of any additives so that I could achieve a finished candle that would glow nicely from within and allow the colors to show through the wax to some degree.
Color Suggestion: Work with colors that are complimentary, generally those that occur together in nature. To find out what those are, look at the photos of any nature calender. Also, keep in mind that you can dye the over pour wax if desired. There are an infinite number of options at your disposal.
Step 2: Grease a cookie sheet
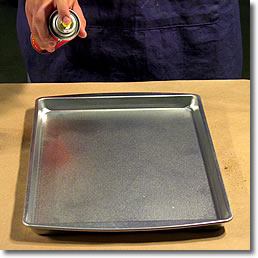
To prevent the chunks from sticking to the cookie sheet, apply a thin film of non-stick cooking spray such as Pam, or a silicone spray lubricant. Either one will work. Wipe out the excess with a paper towel and leave only a very thin film.
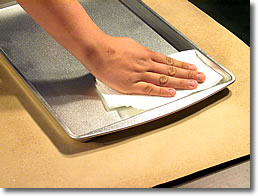
A seasoned cookie sheet will not require anything to aid the release. Also, if you added fragrance oil to the wax, it will act as a release agent. Therefore you will not need any spray.
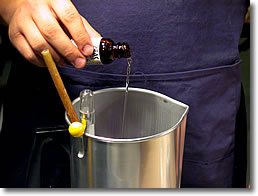
Step 3: Pour wax into the cookie sheet.
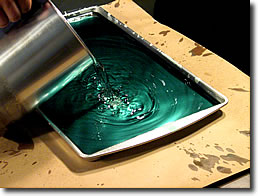 With your wax at about 190 degrees F, pour it into the cookie sheet. Try not to spill or splatter. Pour the wax back and forth to distribute the heat throughout the cookie sheet. Pour to a depth that you would like your chunks to be. If you want small chunks, pour shallow. For large chunks, pour deeper.
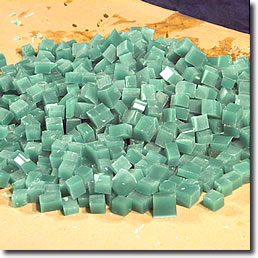
Step 4: Slice wax into chunks.
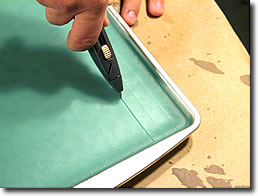 Allow the wax to cool to the point that it is firm but still pliable. It will be about the consistency of cookie dough.
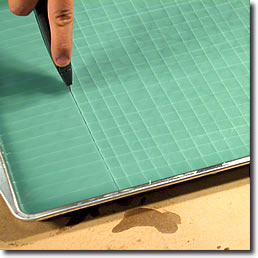
Then, using a paring knife or utility knife, slice the wax into chunks. A criss-cross pattern works well.
This is also an excellent opportunity for many other “cookie cutter” embeds like gingerbread men.
Step 5: Remove the chunks from the cookie sheet
 Allow the wax to completely cool. For this step, the more brittle it is, the better. You may even want to chill the cookie sheet in the refrigerator, or outside if it is cool enough. Then flip it over and whack it onto a sheet of newspaper or Kraft paper.
Most of the chunks should come apart. If some are still sticking together, they can be snapped apart by hand.
At this point, you might want to make more chunks… different colors possibly.
Step 6: Fill the mold with chunks.
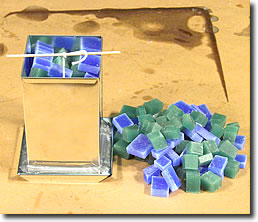 Wick your mold as usual (refer to pillar instructions). Then fill the prepared mold with chunks. You can arrange them nice-n-neat, or just be sloppy like I did here.
You can get creative by layering different colors. Also, you can use the chunks to pin embeds against the sidewalls of the mold (very attractive).
Step 7: Fill with over-pour wax.
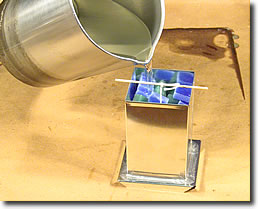 Heat your over-pour wax up to about 190 degrees F. Pour the wax into the mold to just cover the chunks.
Again, you can add dyes, fragrances, and additives to the over-pour wax if desired. For this, we didn’t use any. We used just straight paraffin (IGI-1343). It was selected as the over-pour wax because it is fairly translucent and would allow the chunks to show through the wax a bit.
Optionally, you may vary the temperature of the overpour. By increasing the temperature, you can get the chunks to bleed a bit. By lowering it, you can introduce bubbles and surface texture.
Another option is to fill the mold only to the base of the chunks on the surface. The finished candle would then have chunks protruding through the top (candle would be in a top-up orientation versus the typical top-down).
Step 8: Remove the chunk candle from the mold.
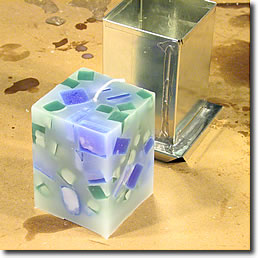 Allow the candle to completely cool in the mold. This may take a few hours depending on the size of the mold.
Chunk candles typically do not form much of a sink hole. Therefore, repours are not necessary
Once it has cooled, remove your finished candle from the mold.
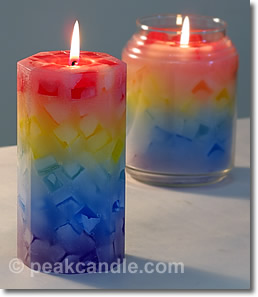
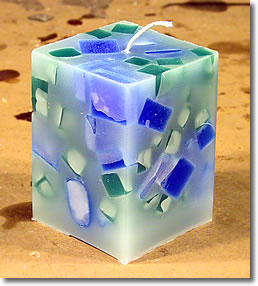
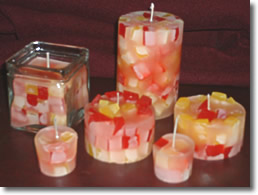
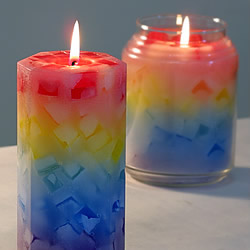
Gallery of finished chunk candles:
 If you have photos of chunk candles you’d like to share, please send them to admin@candletech.com. Credit will be given for any photos used.
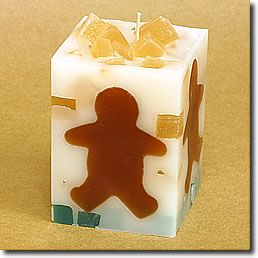
This is a take-off on the chunk candle theme. The chunks were used to hold the gingerbread men in place for the over-pour. This was made in opposite the orientation normally used for pillars. This allowed the protrusion of the chunks through the roof of the candle. (Photo/Candle by Alan, Peak Candle Supplies)
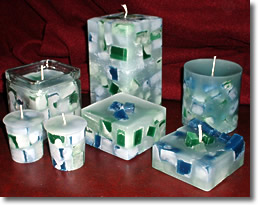
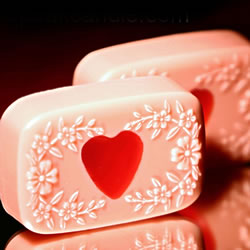
Submitted by Christy Goggin from Westborough, MA.
Submitted by Christy Goggin from Westborough, MA.

Gracias por compartir