
Paraffin and beeswax are probably the most common waxes to use to make dipped tapers. A soy wax, such as Ecosoya PB, may also be used for dipping tapers. The set up time for soy wax, between layers, is a bit longer than paraffin or beeswax. So if you have too much free time on your hands, give soy tapers a try and let us know how it goes. Otherwise, we’re going to assume that you’re using either paraffin or beeswax as we go through these instructions.
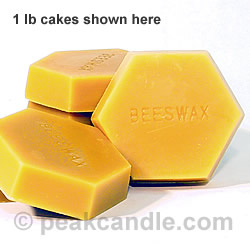 Beeswax is often used for hand dipped tapers because it is a slow burning wax and the layers go on thicker, resulting in less dipping required to get a reasonably thick taper. Melted beeswax is thicker, or more viscous, than paraffin. Beeswax tapers may only require about 7-10 dips, while paraffin may require twice that many dips. And, while beeswax may cost a lot more than paraffin, the resulting tapers burn a bit longer than their paraffin counter parts. Making tapers is probably one of the best uses of beeswax in candles.
Paraffin can certainly be used to produce hand dipped tapers, and at a cost savings over beeswax. Paraffin will take a lot more dipping to achieve the desired thickness, but you can still get excellent results with paraffin. Straight paraffin of medium or high melting points is preferred. Lower melting point paraffins, such as those used to make container candles, should be avoided, as they just won’t stand up, which might not look too smart. Some medium melting point paraffins will also benefit from hardening additives to make the finished tapers more rigid. The most common hardener to achieve this is stearic acid, also called stearine. With paraffin, expect to dip about twice as many times as with beeswax, but you’ll save a bit of money too.
- Tapers made from beeswax will often develop something called “bloom” that gives them a bit of a rustic appearance. This is especially true of naturally colored beeswax (un-dyed).
- Adding fragrance to tapers is not effective in producing candles with scent throw while burning. For this reason, adding fragrance is discouraged.
- Beeswax tapers burn longer than paraffin. Here are some suitable wax mixture formulas to get you started. Feel free to tweak them to your liking.
Formula (all formulas based on weight) |
Comments |
100% Beeswax |
These burn a long time. They will require a larger wick, such as a #2/0 square braid. Beeswax is somewhat flexible, so it is best to leave these hanging in pairs to keep them straight. Likely to develop “bloom.” Raw beeswax may give off a slight aroma. Layers build up quickly while dipping, meaning less work. |
51% Beeswax, 20% stearic acid, and 29% paraffin |
These, being predominantly beeswax, can still be called beeswax candles. The stearic will help make the candles firmer, as well as increase opacity. A #3/0 wick should work nicely, depending on the thickness of the finished tapers. Cost a bit less to make than pure beeswax tapers. |
60% paraffin and 40% stearic |
This mixture will produce hard candles that can be quite white (opaque). With a #3/0 wick, they should burn well. It’ll require more dipping than beeswax tapers. Because of the increased opacity, these are easy to dye in various colors, especially pastels. |
100% Paraffin |
High melting point paraffins can be used here to produce firm candles. Some medium melt point paraffins (around 140F melting point) will also work. Again, if the wax is a little flexible, try to keep them hung in pairs to keep them straight. Because straight paraffin is not that opaque, it is an excellent choice for achieving deep colors. A #4/0 square braid should work well for most tapers of 100% paraffin. |
Instructions:
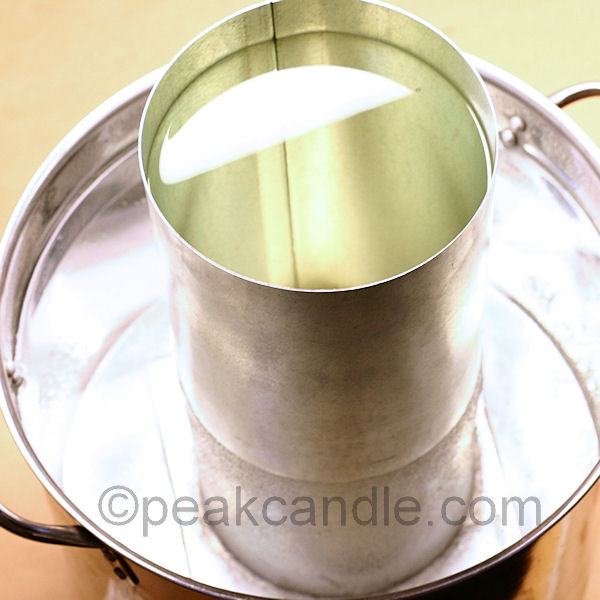
1. Set up a double boiler to melt and/or keep your wax heated. You’ll want to station your dipping vat into a very large pot to act as a double boiler. Large stock pots work well as the outside vessel on a double boiler.
If you have a dedicated wax melter, melt your wax before placing it into a double boiler. Use the double boiler to maintain the working temperature.
The working temperature of the wax should be about 165 deg. F.
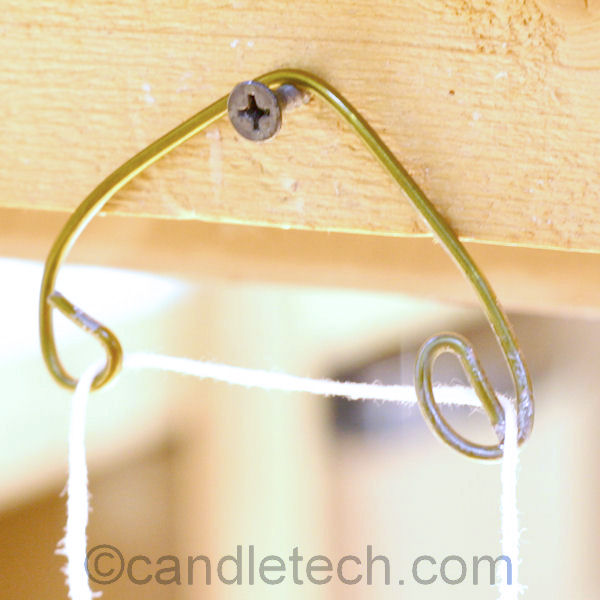
2. Construct a rig to hold a length of wick. The length of wick will be about twice the length of a single taper. We’ll be dipping the tapers in pairs. Do not try to make tapers taller than your dipping vat.
We just used some coat hanger wire and a pair of pliers to make something that will hold the wick, and act as a handle while dipping. You can make a bunch of these and dip dozens of tapers in one setting.
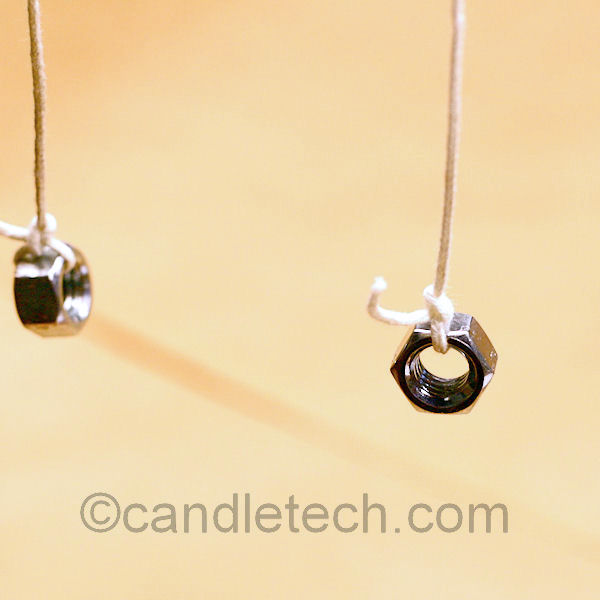
3. Each pair of tapers will need to be weighted with something initially. This keeps the wick straight or taught while dipping. We just used some handy nuts. Feel free to improvise.
You’ll cut the weights off of the wicks about midway through the process. Once the wicks have accumulated some wax on them, they’ll stay straight on their own.
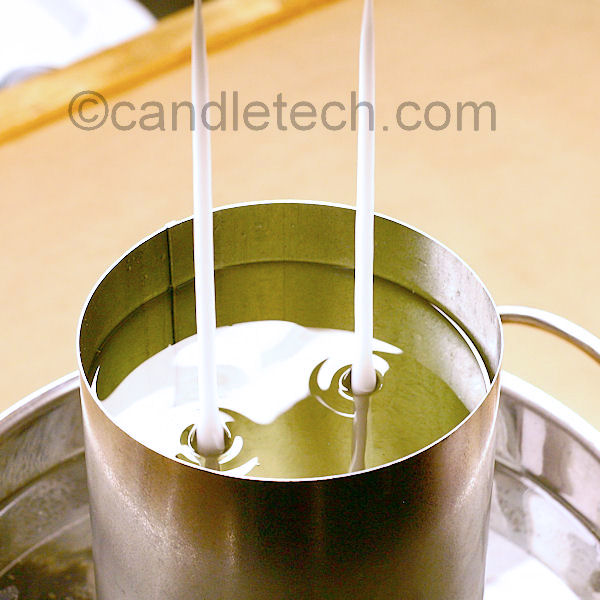
4. Dip your tapers. Repeat as needed until you reach the desired thickness. Allow several minutes of cooling in between each layer of wax. If you don’t allow enough time between layers, the wax will begin to fall off the wick.
The motion of dipping the tapers into the wax should be smooth and continuous. Do not pause while the tapers are submerged.
dryingtapers

5. At some point, cut the weights off the bottom of the tapers, and continue to dip a few more times. When you’ve reached your desired thickness, simply hang your tapers up and allow them to completely cool.
What’s the desired thickness? Use a ruler to find out how thick your tapers will need to be to properly fit your taper holders.
Storage: It is best to leave your tapers hanging up in pairs for storage. It helps keep them straight until your ready to use them.
What do you do with wax left over in the melting pot?