
Learn to make this gorgeous layered chocolate peppermint candle that looks and smells just like your favorite mint chocolates!
You will need:
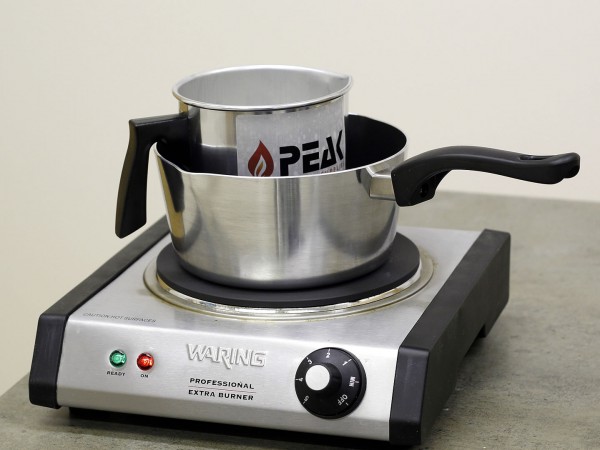
–Pouring Pitcher
–Container Wax (we used IGI 4630)
–Wicks (we chose to use a C-75 Cotton Core Wick)
–16 oz Colonial Jar (or jar of your choice)
–Brown Liquid Dye
–Hunter Green Liquid Dye
–Pillar Wax (we used IGI 4625)
–Square Soap Mold
–Wick stickers (or hot glue)
–Scale
–Peppermint Kiss Fragrance Oil
Step 1. Since there will be 3 layers to this candle all equal parts, we will melt 5.3 ounces at a time. Use a scale to weigh out this amount of your container wax and melt using a double boiler method. Tip: If you are using a different jar, divide the full wax weight of the container by 3 to get the amount you need for each layer.
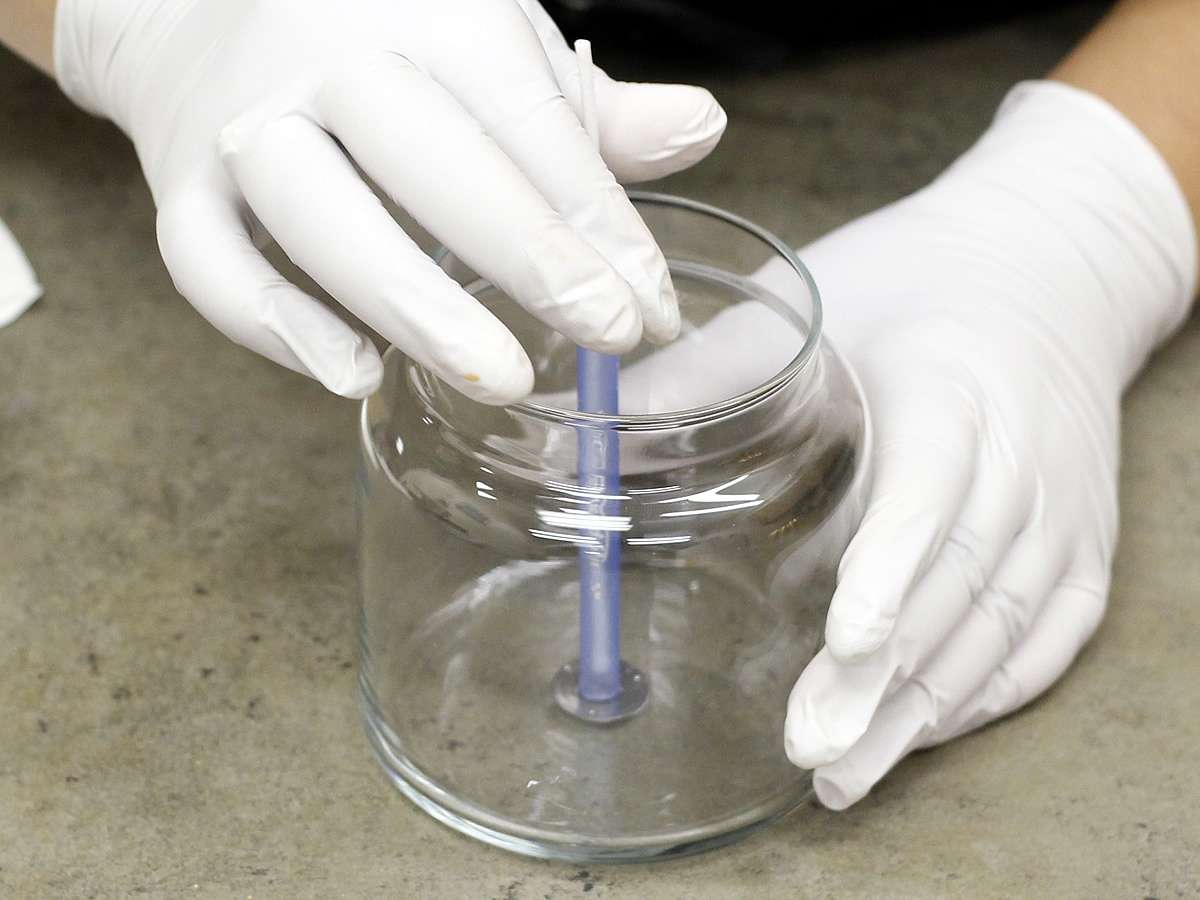
Step 2. While the wax is melting, secure your wick to the bottom of the jar using hot glue or wick stickers. You can also secure the top of the wick with a wick holder bar or wick centering tool if you wish.
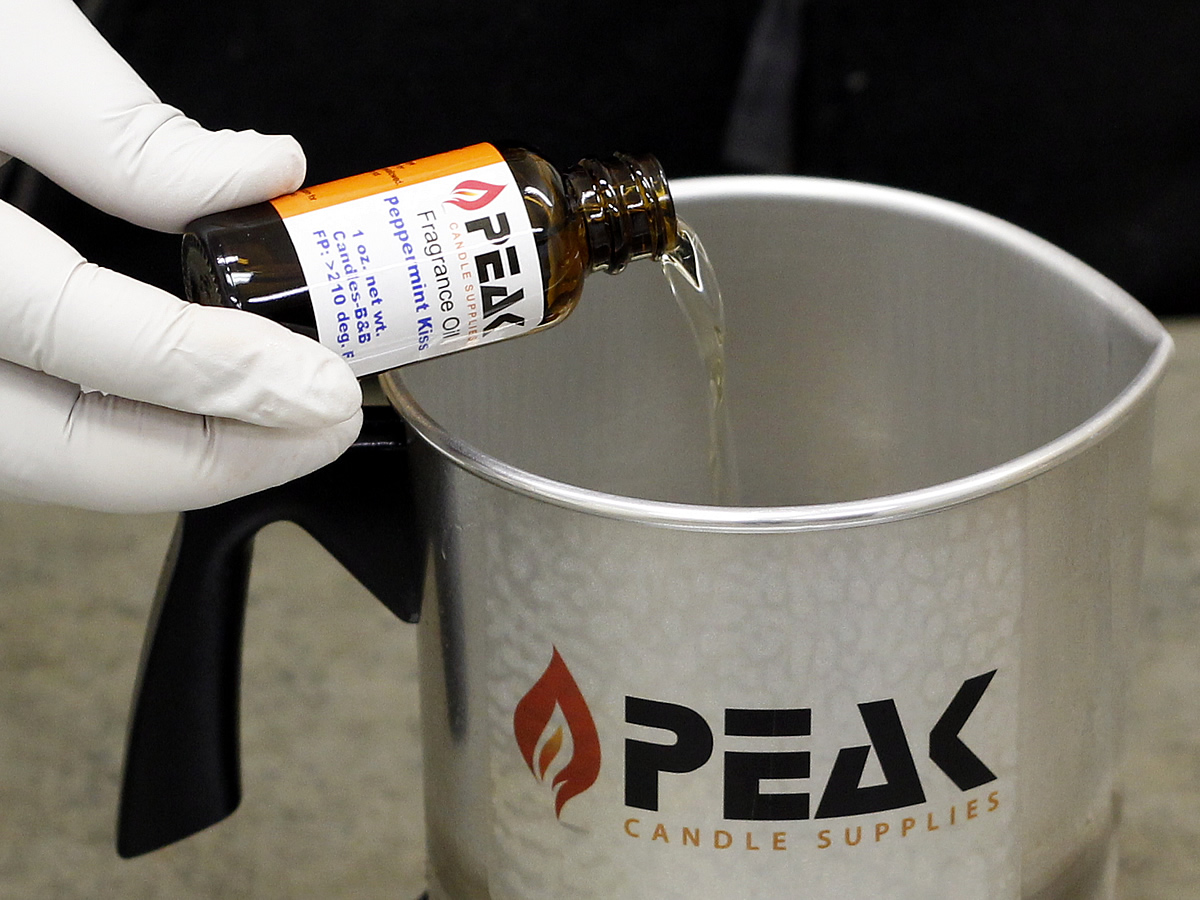
Step 3. Once the wax has melted to around 175-180 degrees F you will add in your fragrance using your scale. For this container, we used about .3 oz. per layer (6%).
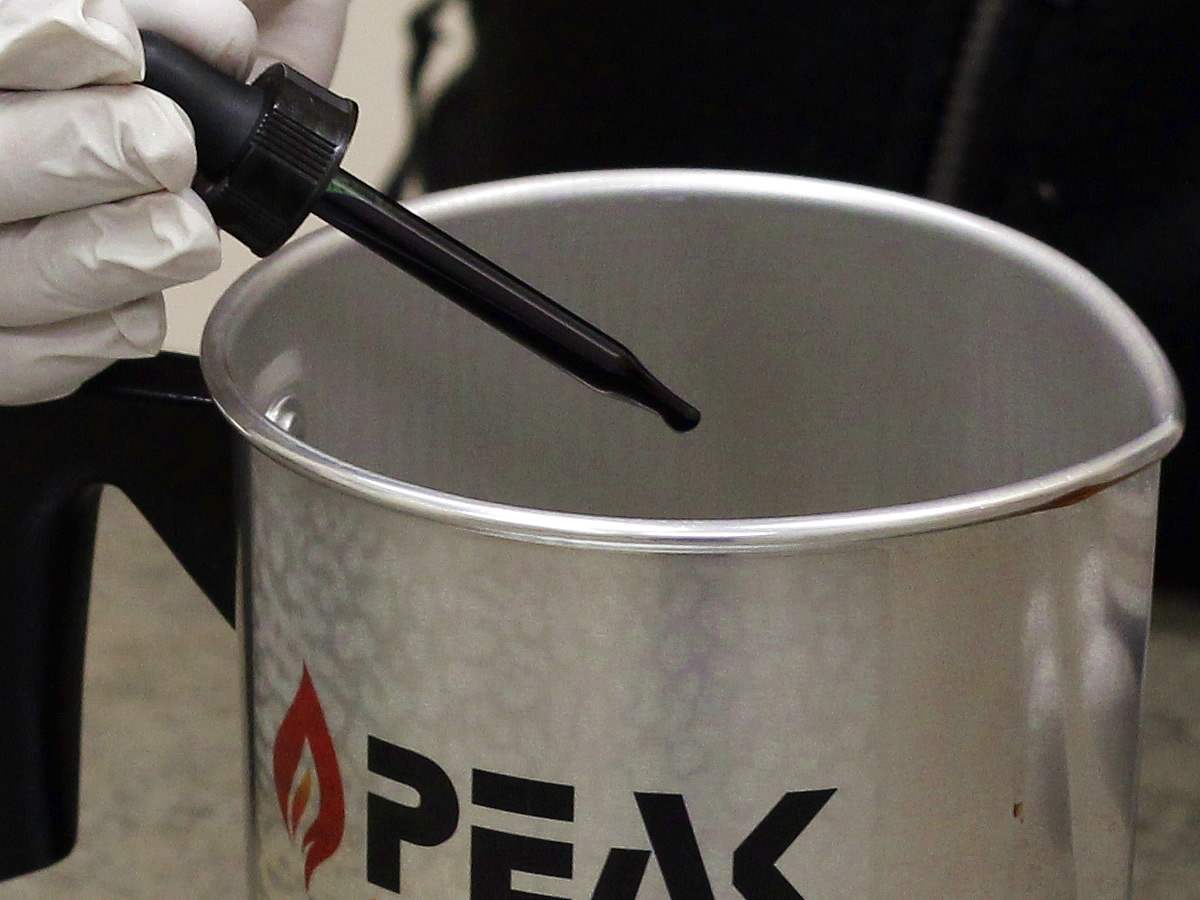
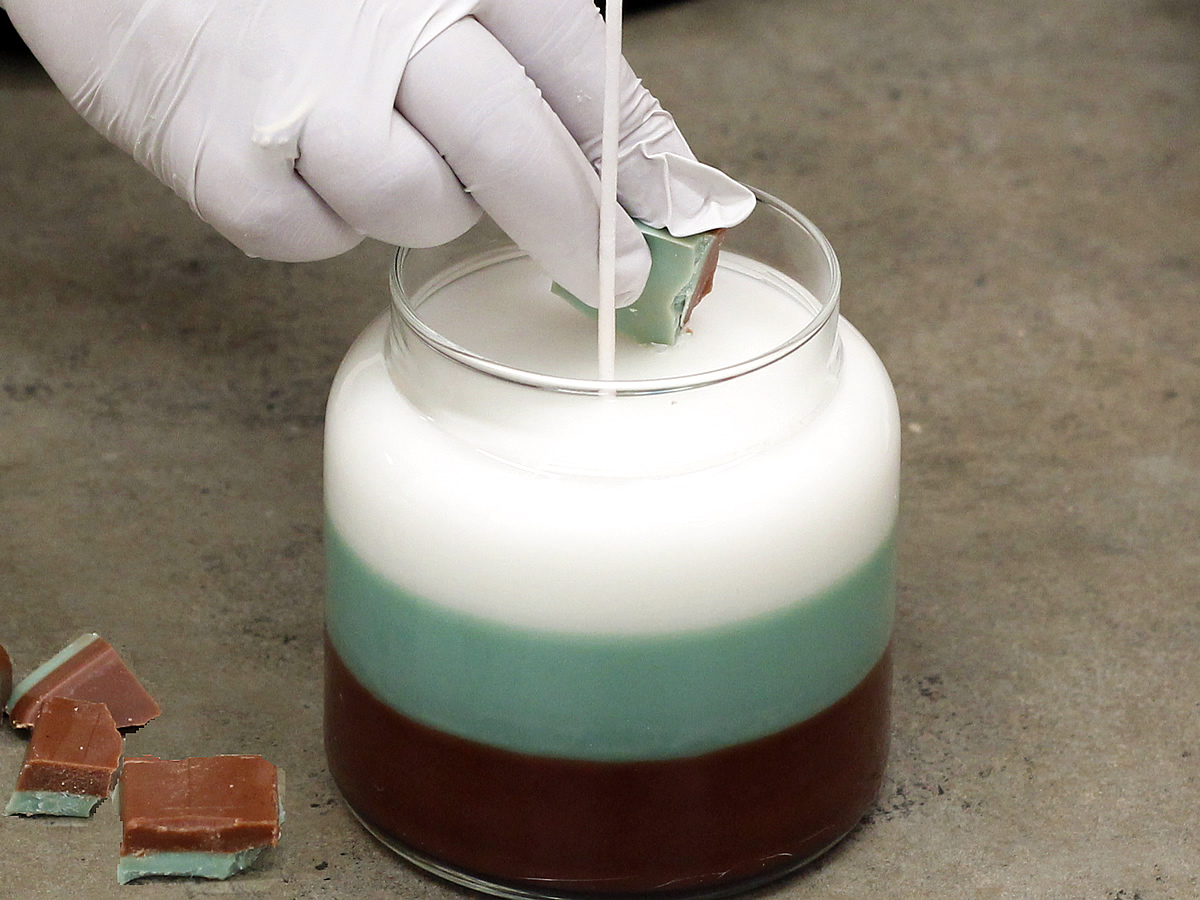
Step 4. Once you have added in your fragrance you will add in your Brown Liquid Dye. We used about 4 drops for the 5.3 ounces of wax. Mix thoroughly, and then pour.
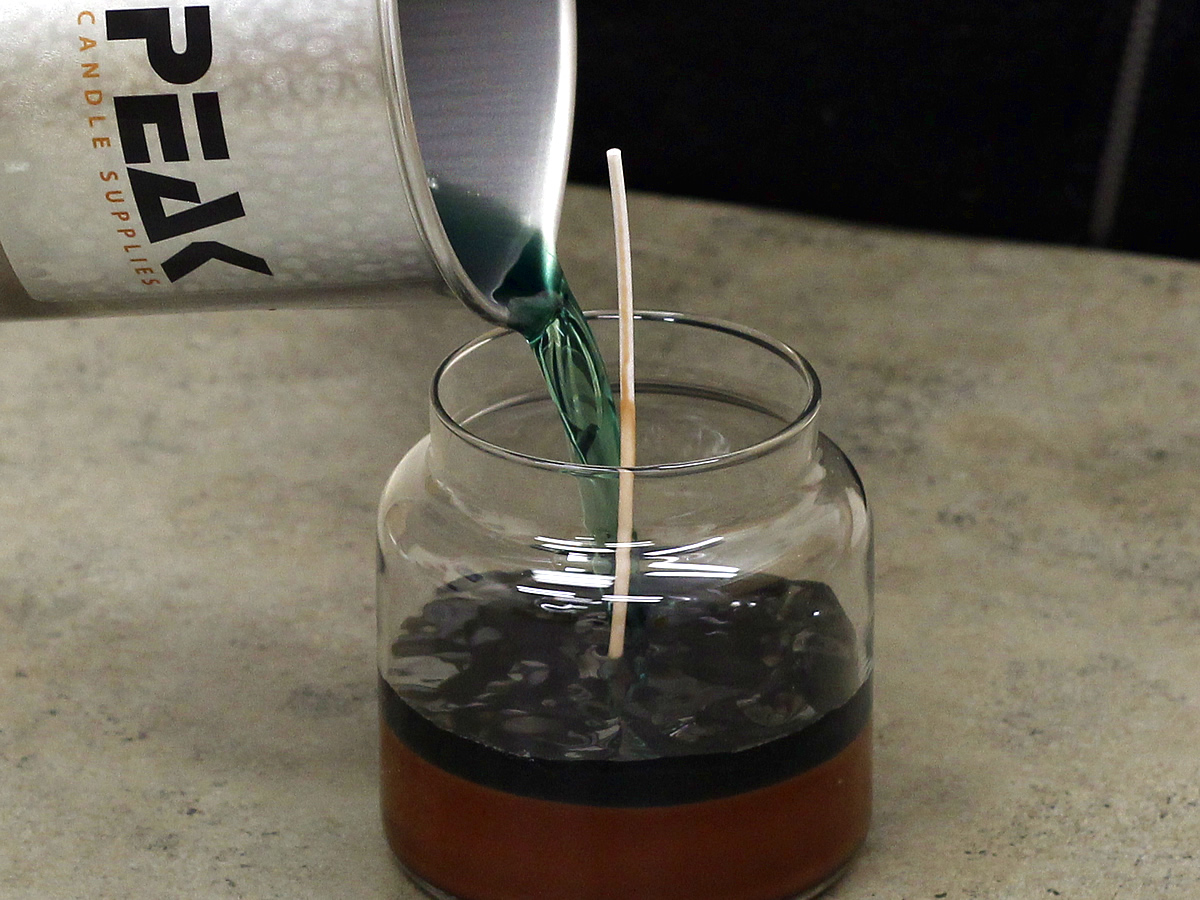
Step 5. Once your wax has cooled to almost room temperature you can melt your next layer of wax. When it has reached the same temperature you poured the first layer at you can add in your fragrance, and dye. This time you will use Hunter Green Liquid Dye, and use only 1 drop. Mix thoroughly, and then pour.
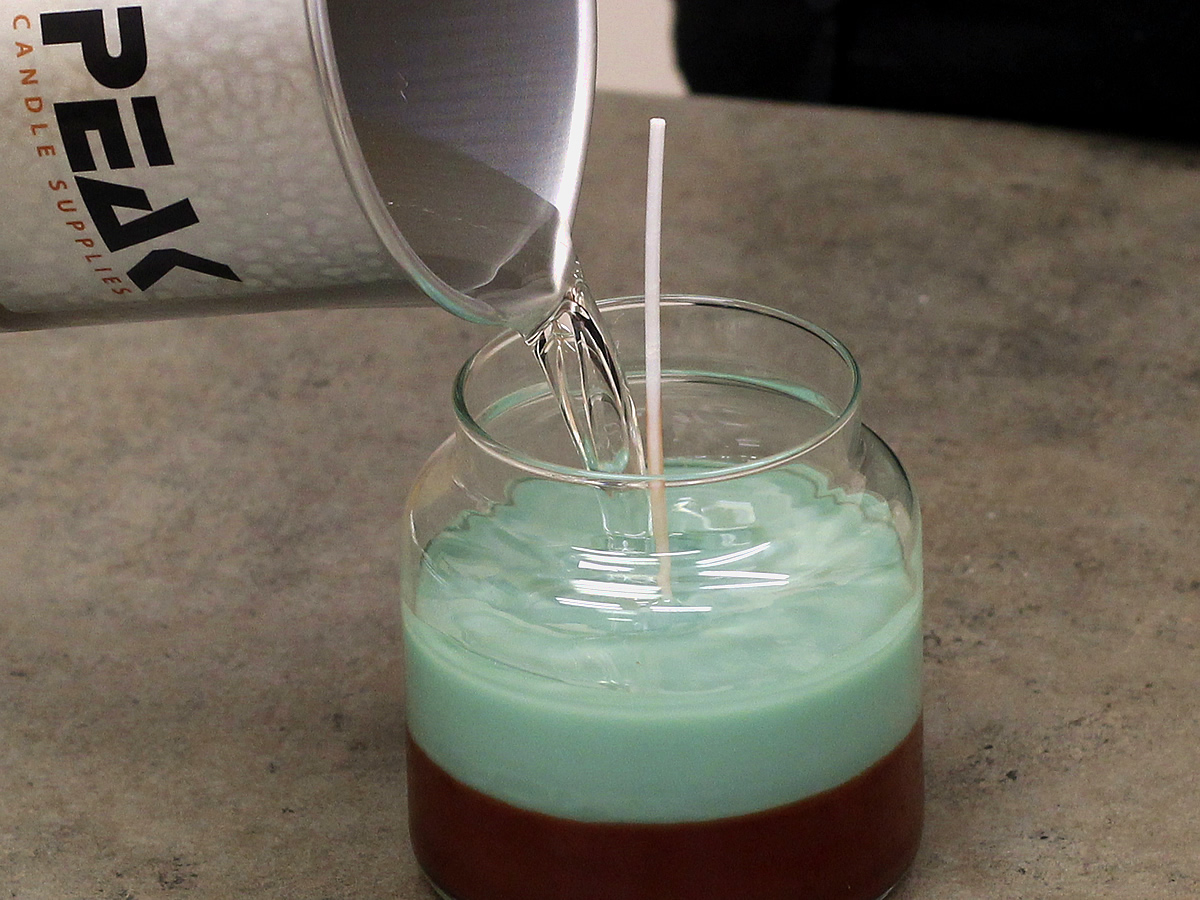
Step 6. Once this layer has cooled to almost room temperature, you can melt the wax for your 3rd, and final layer. Again, once it has reached the same temperature as your initial pour you can add your fragrance, but this time you will not add any dye.
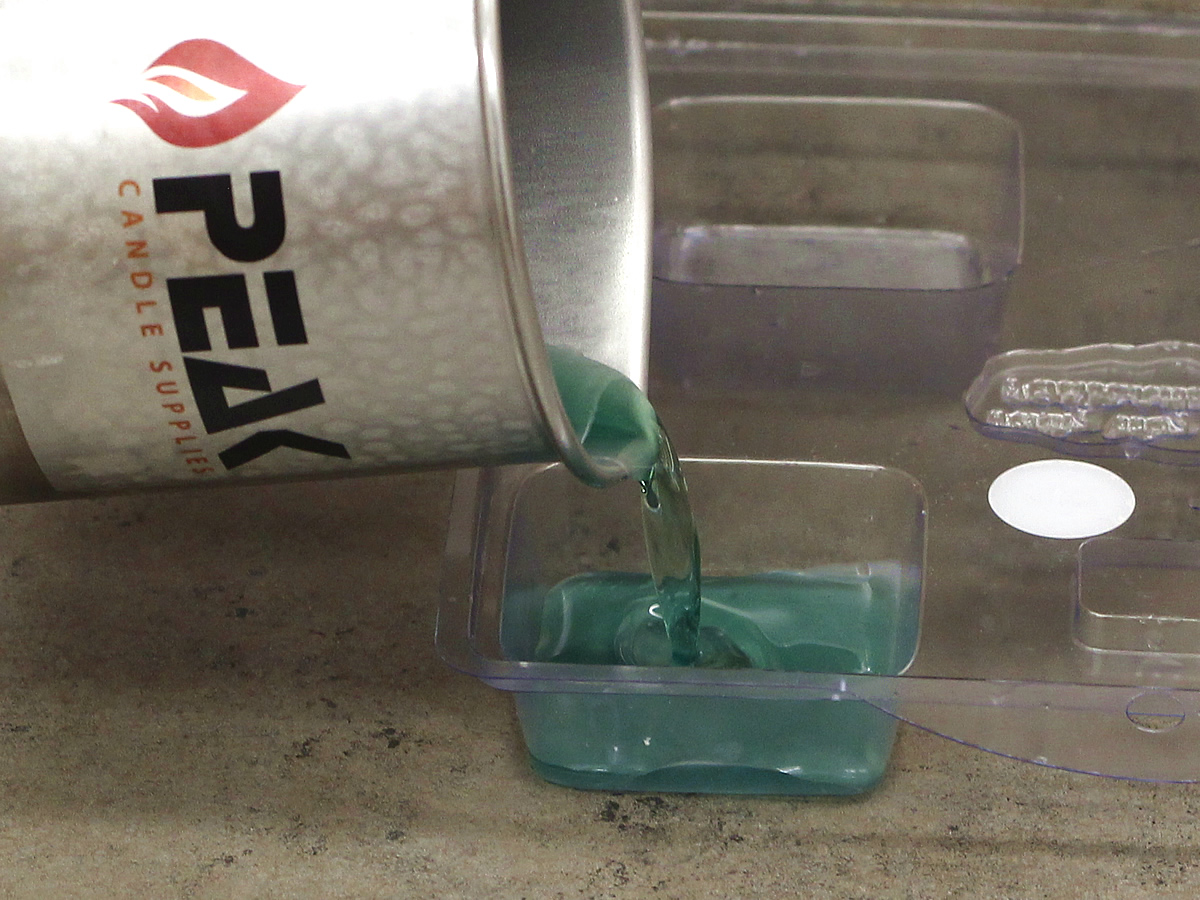
Step 7. While waiting for the final layer to cool, you will melt down a small amount of pillar wax. About 1-2 ounces should be fine. Once it has completely melted to the temperature of 175-180 you will add in a small amount of Hunter Green Liquid Dye. Tip: Dip a toothpick into the liquid dye and then dip into the wax. This will allow you to add a smaller amount than a drop, so the color is not too dark. Adding in fragrance to this wax is not necessary but you can add a tiny bit if you wish to. Then, after you mix thoroughly you will pour into your soap mold.
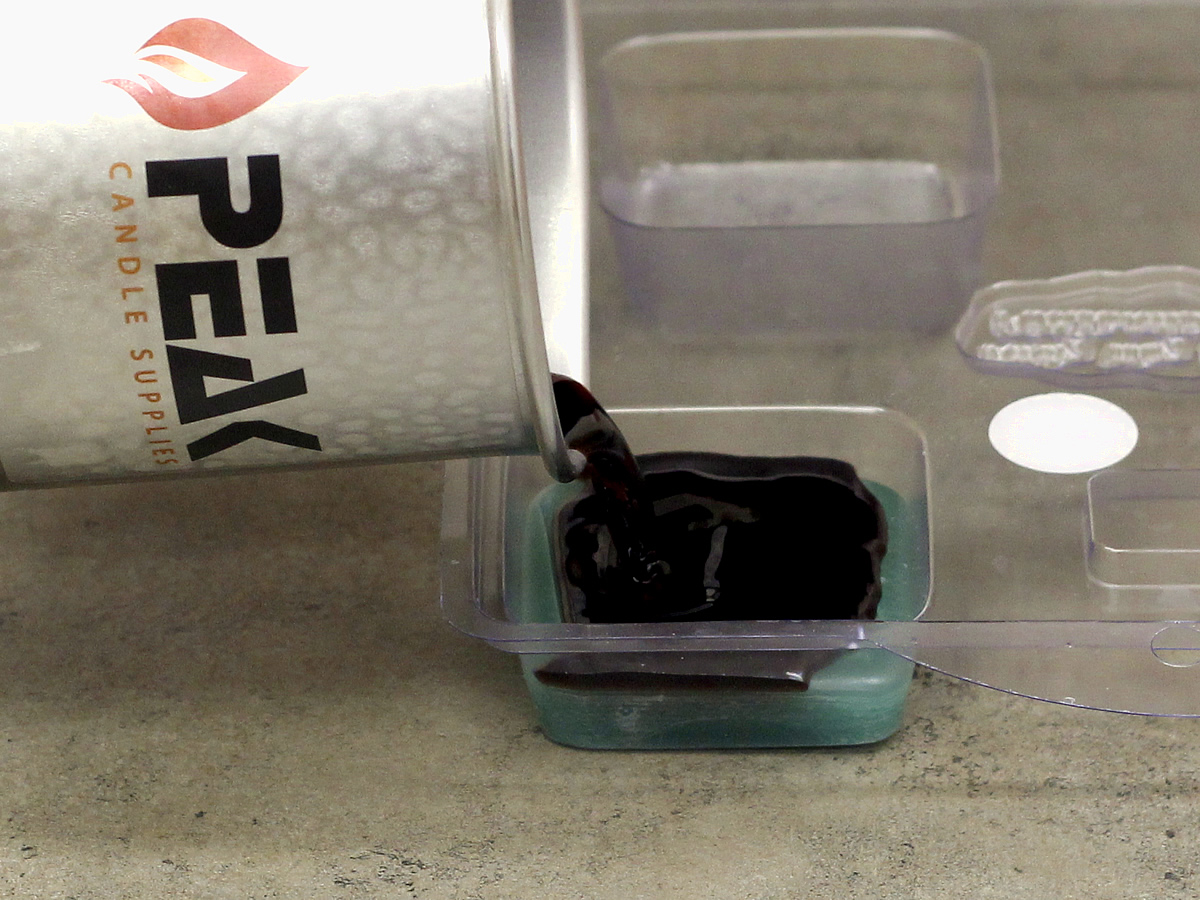
Step 8. Once this layer has formed a thick film, you can melt another 1-2 ounces of pillar wax for the next layer. Tip: Score the top of the first layer with a knife to help with adhesion between the two layers. Once it has melted add in 1 drop of Brown Liquid Dye, and fragrance if you choose to. Mix, and then pour.
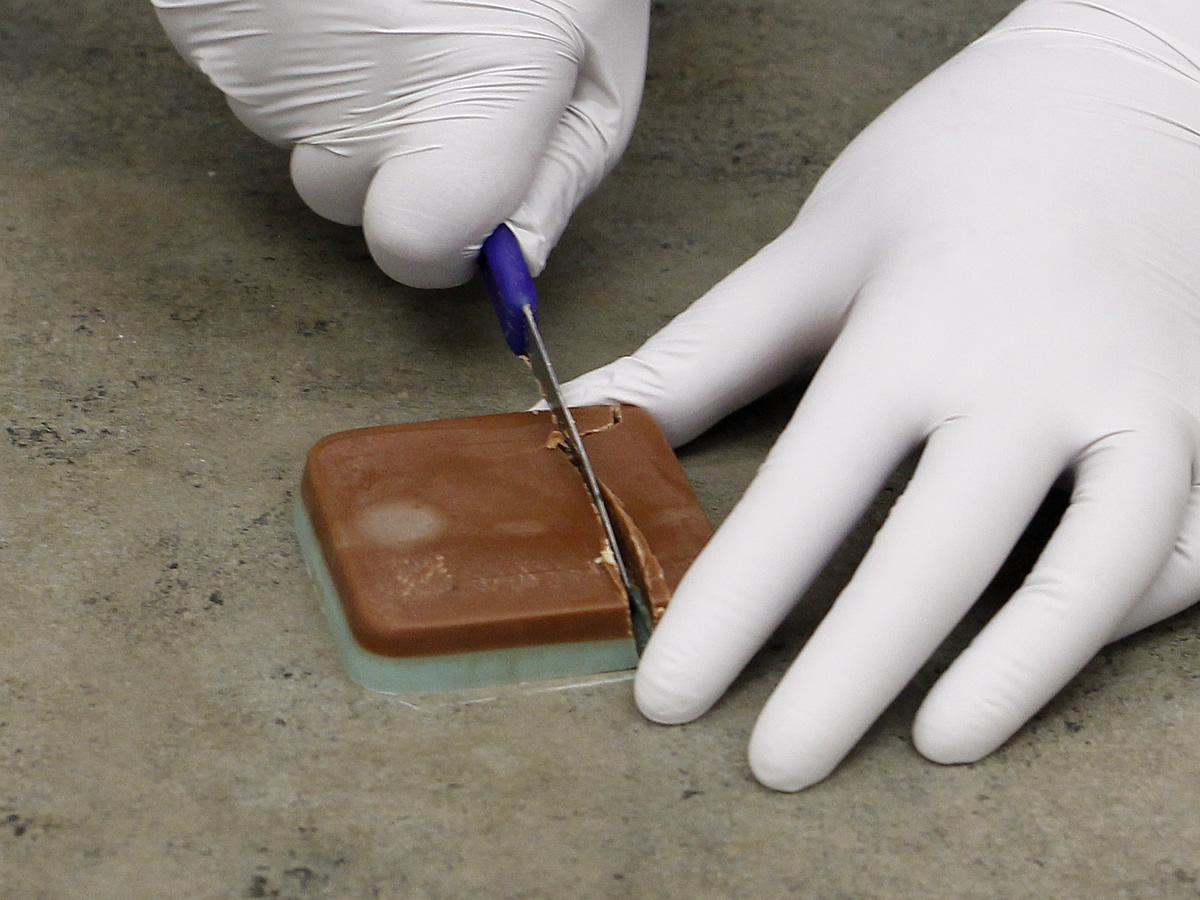
Step 9. Once the wax has cooled down, pop it out of the mold and cut it into small square chunks. After this is done, place the chunks on top of your cooled candle, trim your wick, and enjoy!
Thank you so much for your ideas and great information you Peak Candle experts share with us! This is the first time I see a wonderful website with all those beautiful projects.
I have a question: I would like to make those rolled layered candle not using beeswax, it should be a wax that allows me to make come cuts to create a third dimension look from color underneath to another color on last layer , what kind of wax may I use to complete this project?
Thank you,
Fanny Bernal
I can’t wait to try the layered chocolate pepermint candle!
Hi Cindy Ahn,
The colors will bleed together if the wax temperature is too hot. You may need to let the first layer cool a bit more, or pour the second layer a bit cooler so that it doesn’t melt the first layer. Layered candles require special attention to temperature to prevent bleeding, especially when working with very high contrast such as black and white.