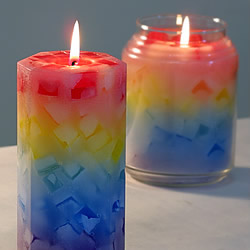
Learn to make cute, rustic container chunk candles with this simple step-by step tutorial!
You Will Need:
–Straight Paraffin IGI 1343 (Or your preferred pillar wax)
–Straight Paraffin Container Wax IGI 2281
–Containers (We used 8 oz Jelly Jars)
–Wicks
–Hot Glue or Wick Stickers
–Fragrance Oil (optional)
–Candle Dye
-Cookie Sheet
-Knife

Step 1:
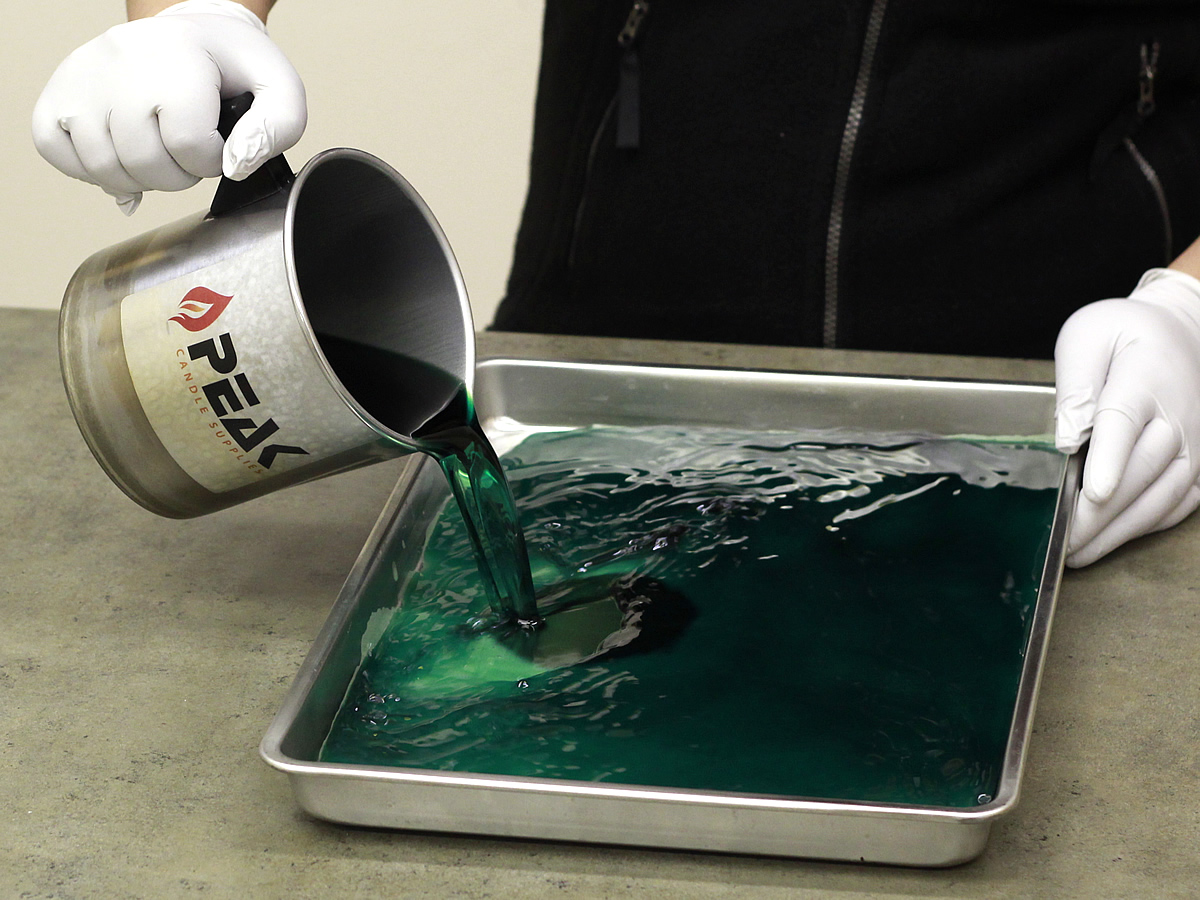
Melt the wax for your chunks (Straight Paraffin IGI 1343) in a double boiler. Add your desired fragrance and color and mix thoroughly. Place your cookie sheet on a flat, heat resistant surface. Pour the wax directly onto the cookie sheet and allow the wax to cool.
Step 2:
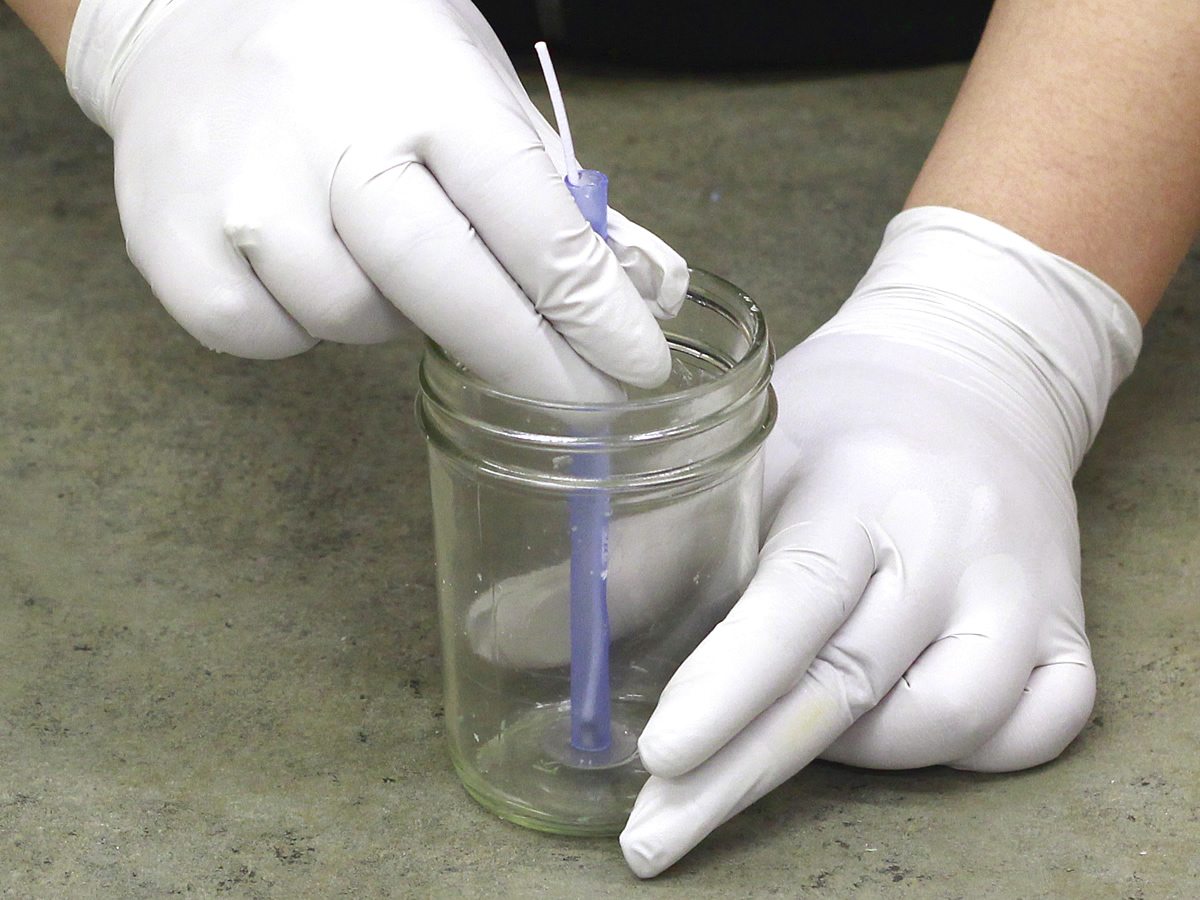
While the wax for your chunks is cooling, you can prepare your containers by securing the wicks to the bottom using hot glue or wick stickers.
Step 3:
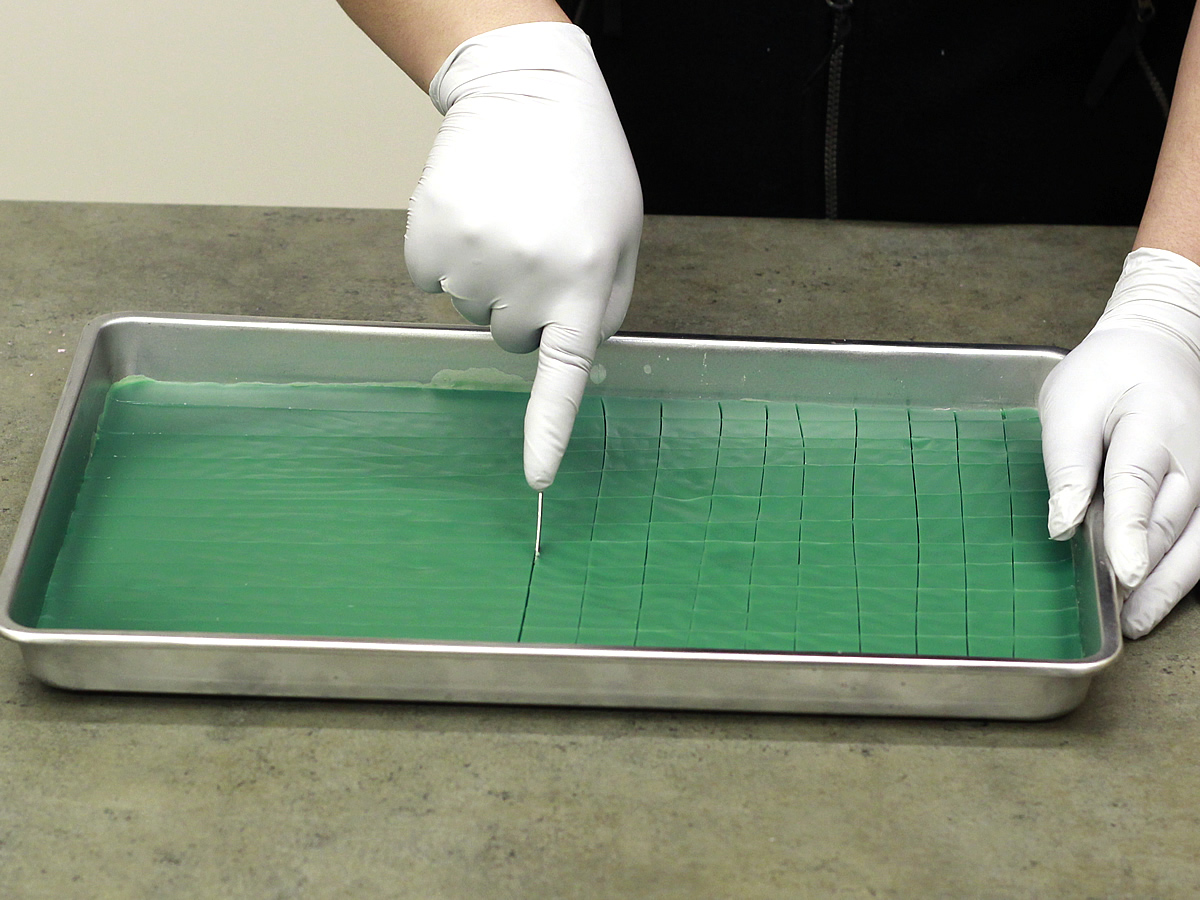
When the wax in the cookie sheet has cooled to the point of soft cookie dough, cut the wax in approximately equal lines lengthwise, and repeat this going the opposite direction, so that you have small, square-shaped chunks of wax. Now allow the wax to cool all the way before attempting to remove the chunks. You can place the cookie sheet in the refrigerator to speed up the cooling process.
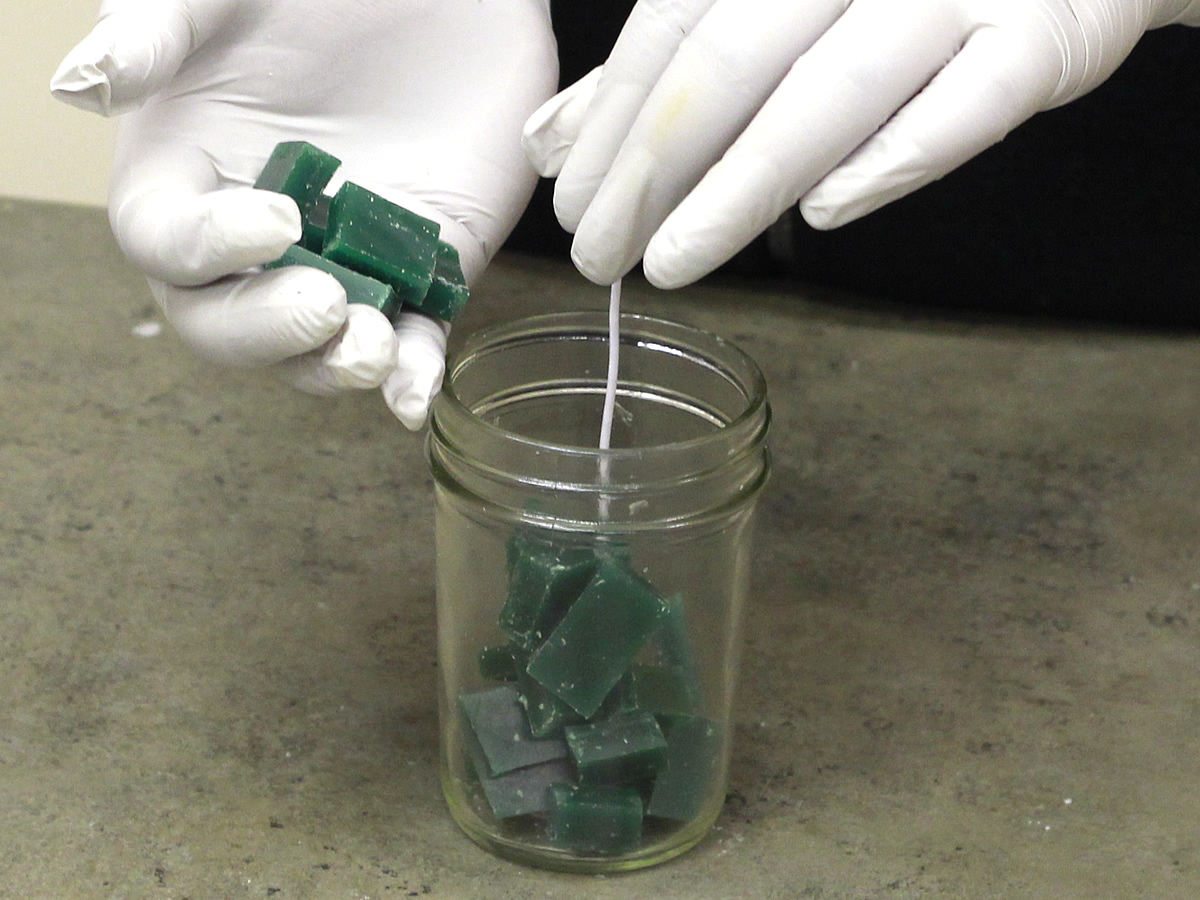
Step 4:
When the chunks are completely cooled and hardened, remove them from the cookie sheet and place them in your container. Try to place the chunks up against the sides of the container as much as possible, and take care not to pull the wick off-center too much.
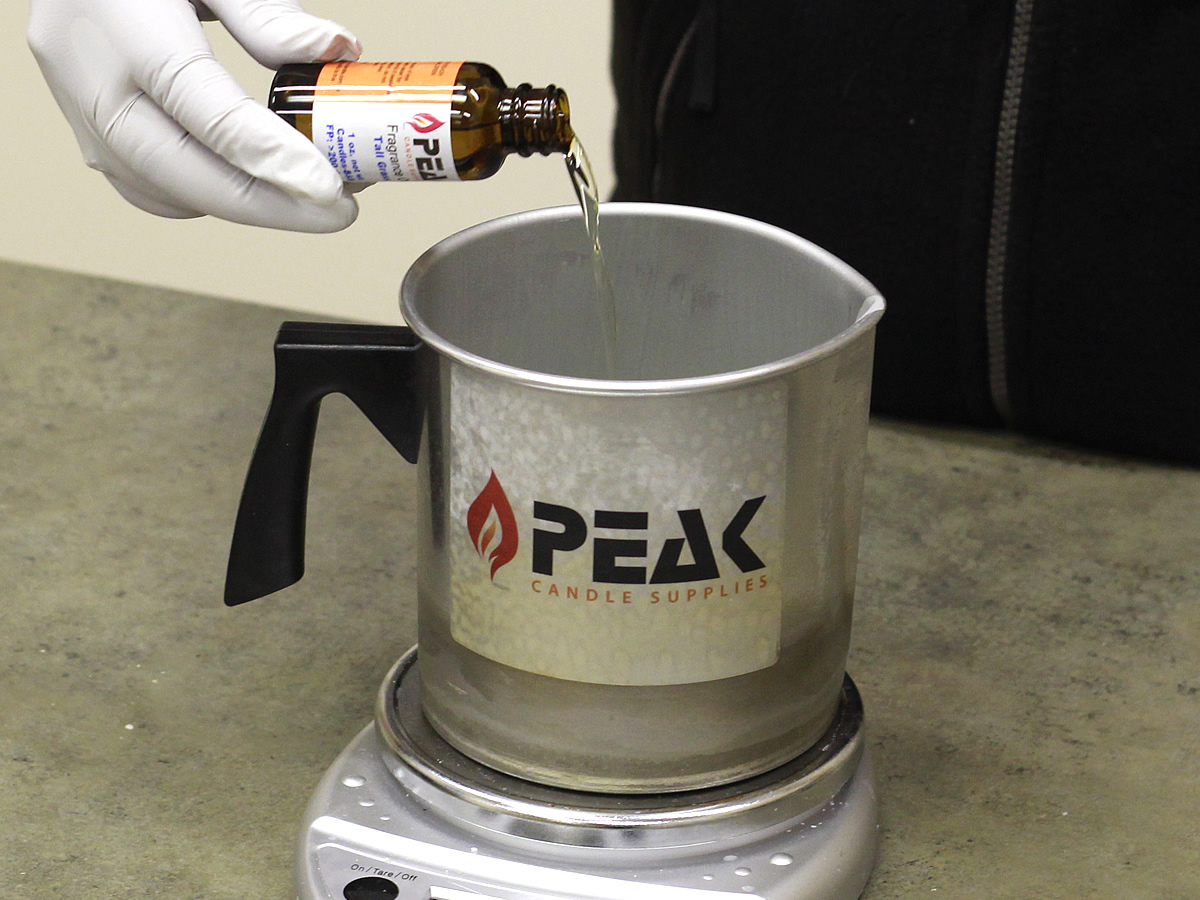
Step 5:
Melt your Straight Paraffin Container Wax 2281 in a double boiler. We recommend this wax for chunk container candles because it is the most translucent of the container waxes, allowing the chunks to show up better in the finished candle. You can add fragrance to this wax if you wish, but do not add any color.
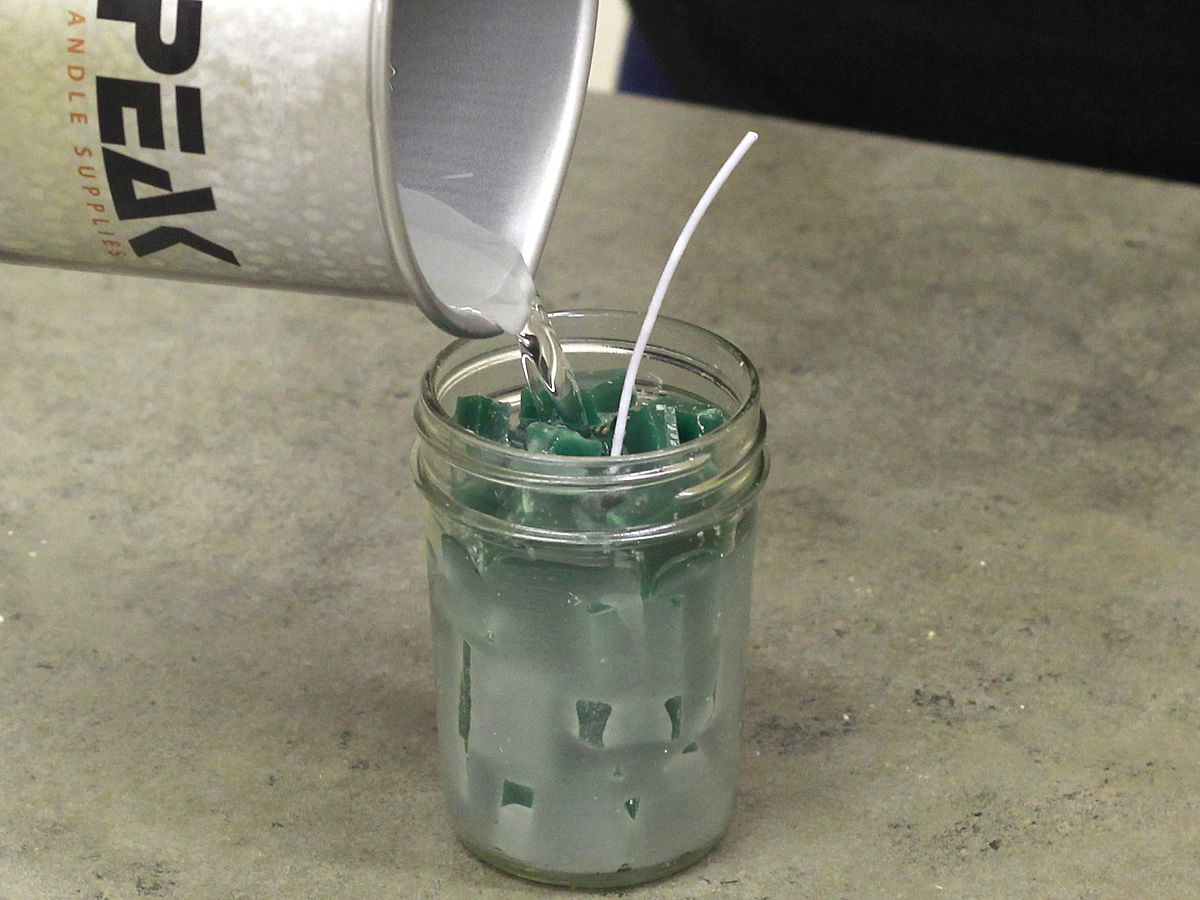
Step 6:
When the wax has reached approximately 180 degrees F, carefully pour it into the container over the chunks. Try not to pour in just one spot, as the hot wax may melt a hole through the chunk wax. Now allow the candle to cool completely.
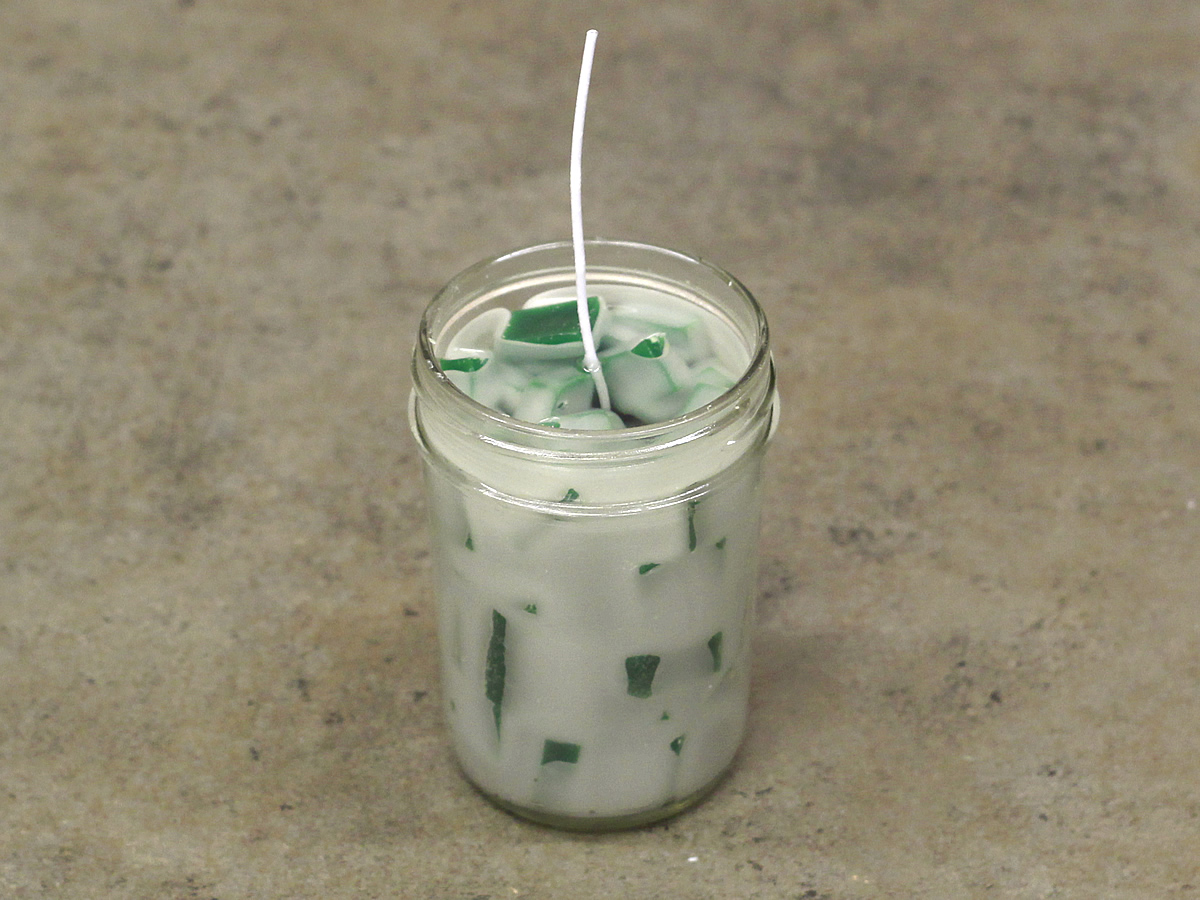
Step 7:
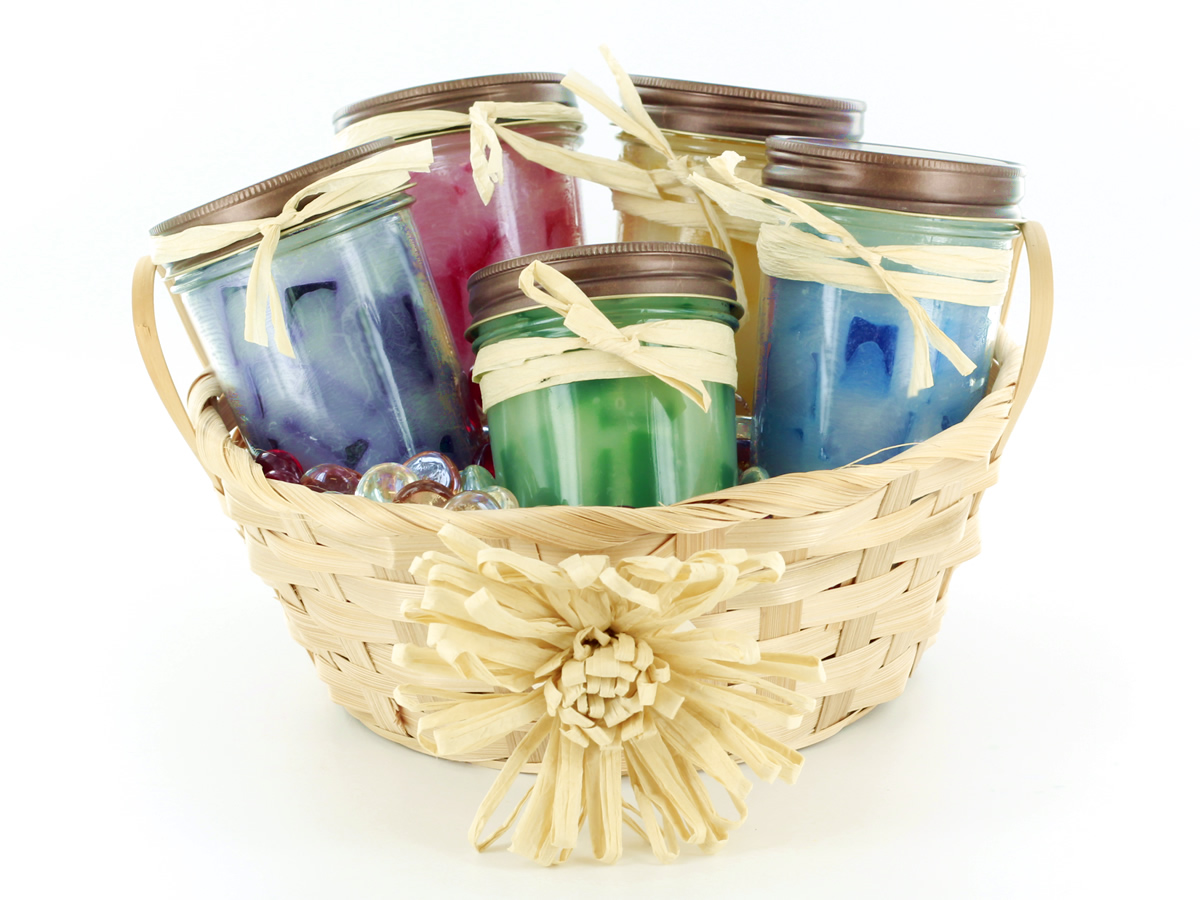
When the candle is completely cool, trim the wick to approximately ¼” above the top of the wax. You may notice that you cannot see the chunks very well at first, but after a few days, the overpour wax will absorb some of the color from the chunks, giving the candle a beautiful and unique appearance. You can try different colors and combinations, and add any decorative touches. Here, we did a rainbow of colors and topped them off with a Rustic Lid and raffia ribbon for a summery, rustic look. Enjoy!

Leave a Reply