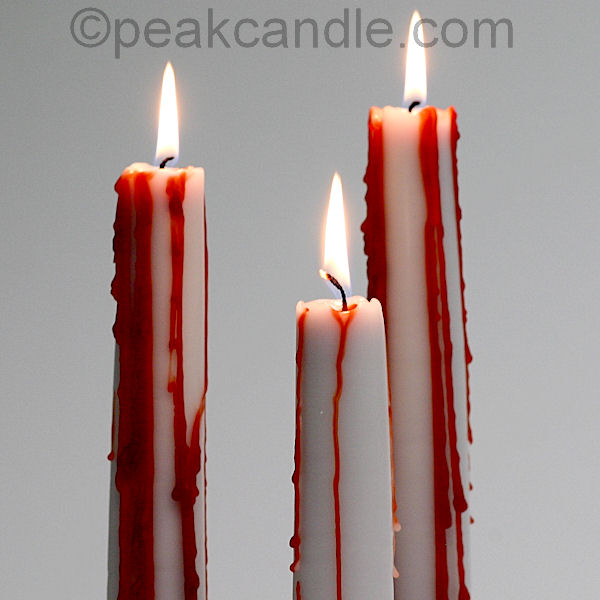
Create an innocent-looking taper candle that “bleeds” when lit!
There are two ways you can create these candles. One is to hand-dip the entire candle, and the other is to use a taper mold for the core and do a white over-dip.
You Will Need:
- Pillar Wax
- Red Candle Dye
- Stearic Acid
- Fragrance (optional)
- Taper Mold (optional)
- 36-Ply Flat Braid Wick
- Dipping Vat
- Stock Pot or Large Double Boiler
Preparing the Core:
-Molded:
Heat your wax in a double boiler or wax melter to the specified pouring temperature for your wax and add your dye and fragrance. You may need to add more dye than usual to achieve the dark “blood red” color. Wick your taper mold as usual, leaving enough on the top of the candle (the bottom of the mold) to be able to hold onto while you do the over-dip. Pour the red wax into the mold, and fill higher or lower for a taller or shorter candle. Allow to cool completely and remove it from the mold.
-Hand-Dipped:
Prepare your red wax in a double boiler or wax melter as you would for a molded candle. Now you can either transfer your wax into a dipping vat inside of a stock pot full of simmering water, or just keep it in your double boiler for a shorter candle. Follow the instructions for hand-dipped tapers and allow the core to cool once it has reached the desired size.
Preparing the Over-dip Wax:
 Melt your pillar wax and stearic acid together in a double boiler or wax melter at a ratio of about 40% stearic acid to 60% wax. This will increase the whiteness and opacity of the wax so that it will completely cover the red core. Transfer the wax into a dipping vat inside of a large simmering pot of water.
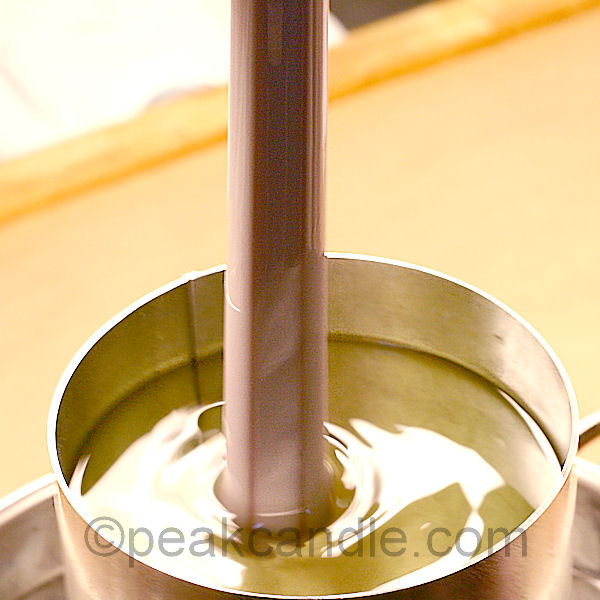
The Over-dip:
The ideal temperature for the wax is 165 degrees F. It is important to try to maintain this temperature. The hot water in the pot should aid in keeping the wax hot for a good period of time. Holding on to the wick at the top of the core, dip it into the dipping vat in a swift and even motion. Be sure to completely submerge the candle while avoiding hitting the bottom. Repeat this step until no more of the red is visible. Wait for the candle to cool slightly between dips to avoid any sheeting. When finished, hang the candle upright to cool. Once cool, trim your wick to 1/4 inch.
Now you can place your finished candle into a candle holder and light. As the candle burns, the red wax from the core will drip down the sides of the white candle, making it look like it’s bleeding!
Leave a Reply