Testing, 1,2,3
cheers,
Alan
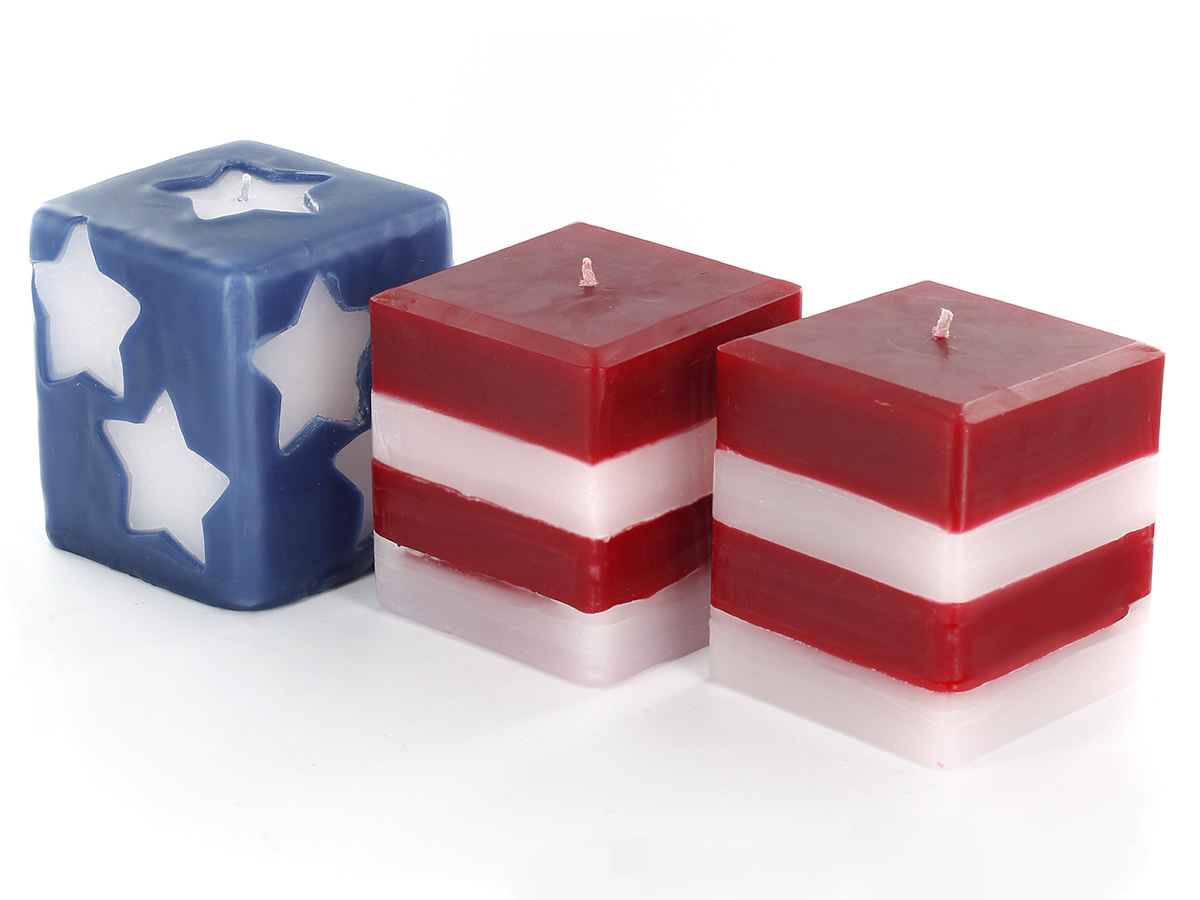
Learn to make these festive stars and stripes candles for the 4th of July!
You Will Need:
Step 1:
Prepare your molds as you would for a normal pillar candle. If you have never made pillar candles before, we recommend familiarizing yourself with the process by reviewing our How to Make Pillar Candles tutorial. For this project, you can make all three candles simultaneously, or make the stars candle first, followed by the stripes, depending on how many molds and pouring pitchers you have available.
Step 2:
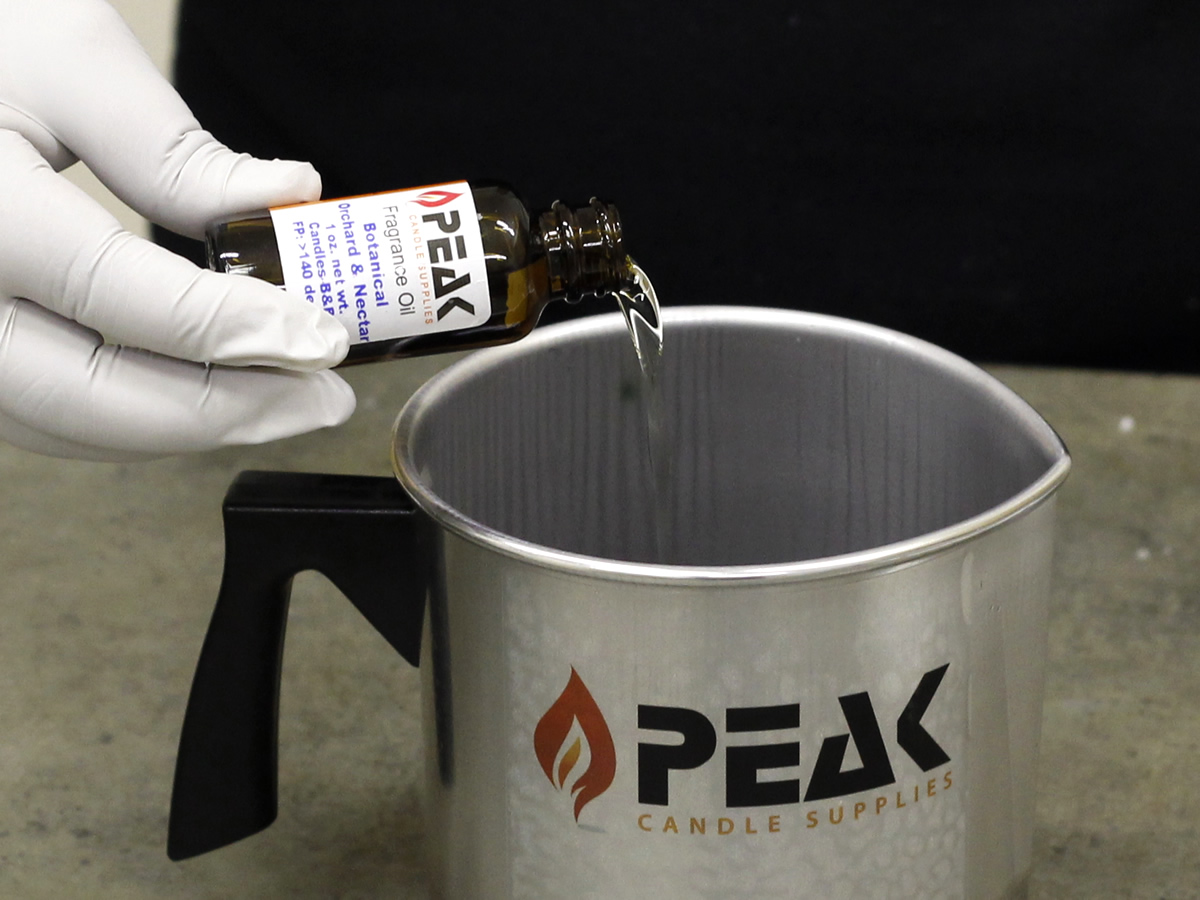
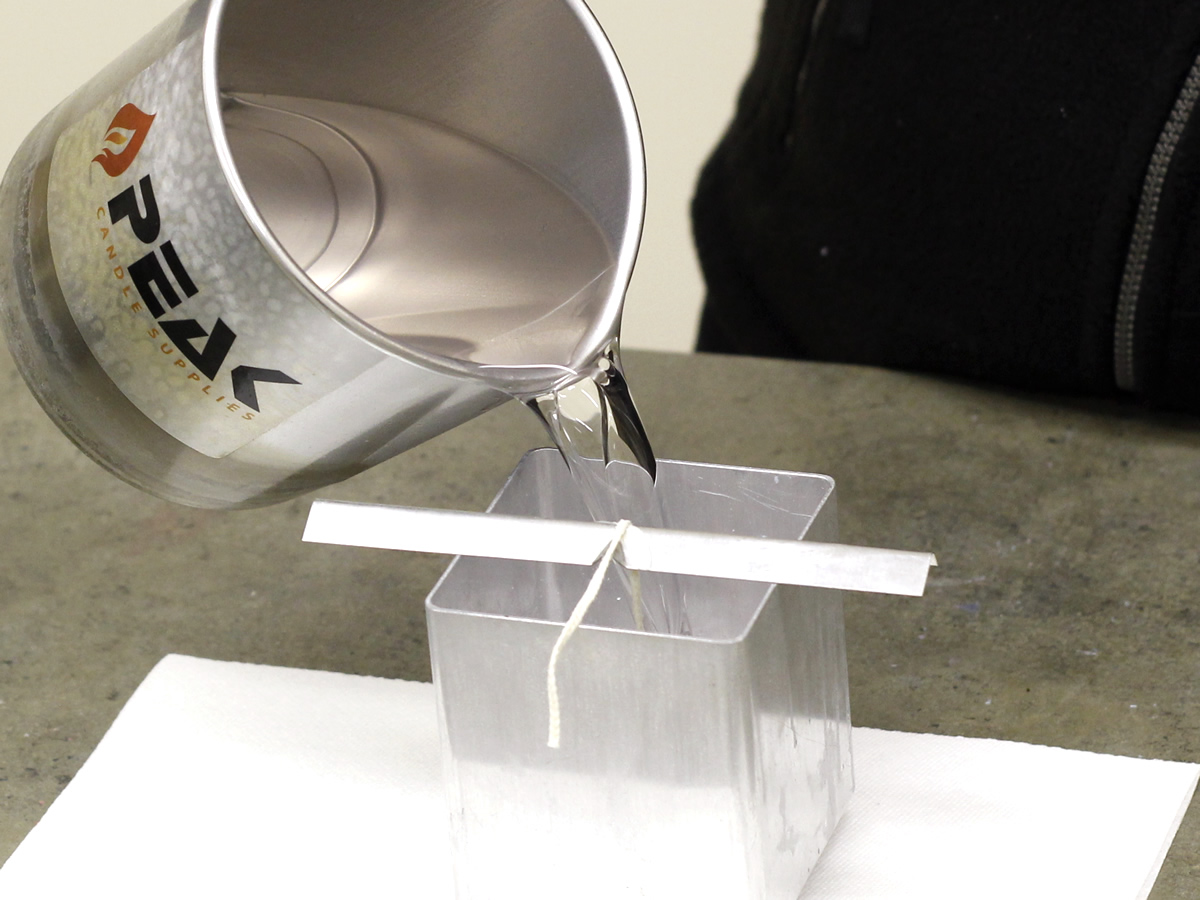
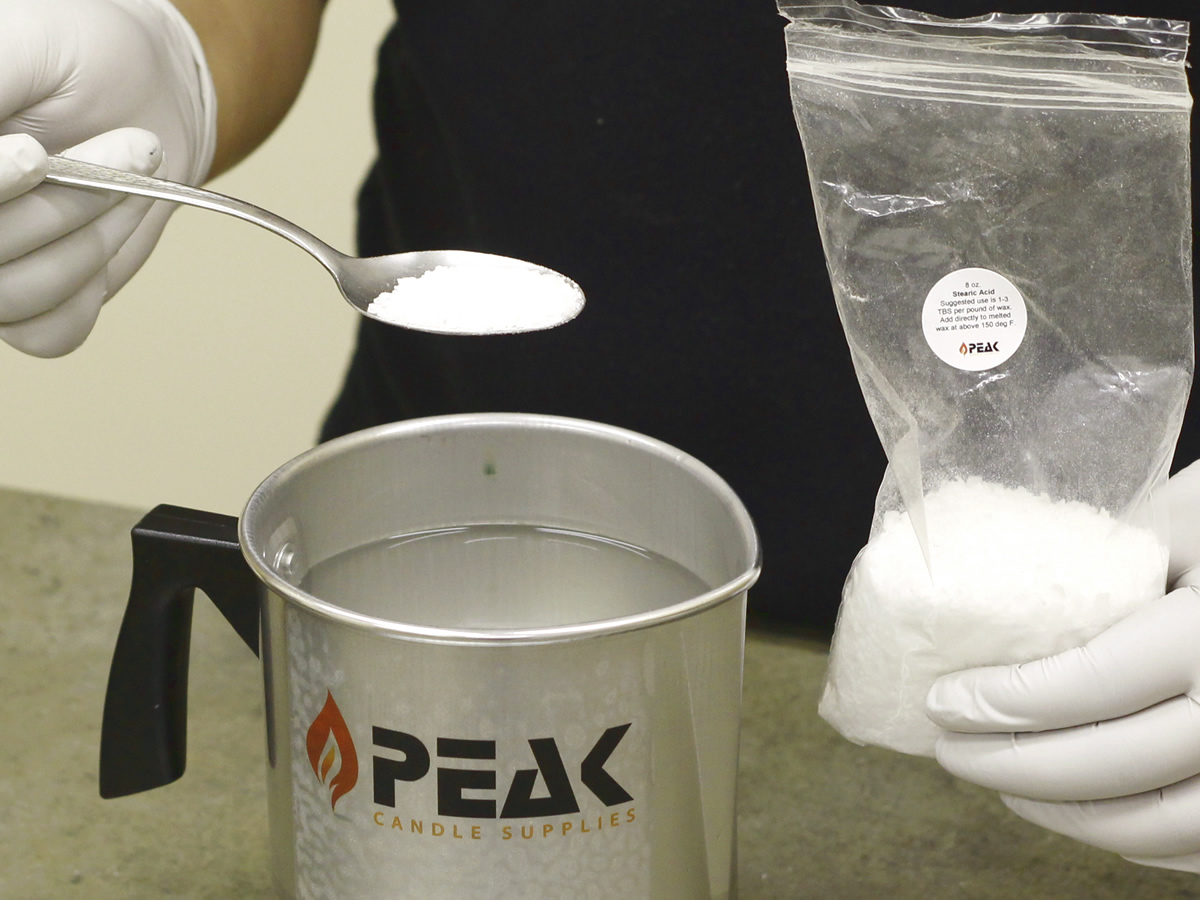
For the stars candle, melt your wax in a double boiler and add your fragrance (optional). Do not add dye, but you may wish to add 1-3 TBS per pound of Stearic Acid to achieve a brighter white. Pour your wax into one of your molds and allow to cool, saving some wax for the second pour. If you wish, you can melt extra wax and save it for the white stripes in the other two candles. Be sure to poke relief holes and do a second pour once the first pour has finished cooling.
Step 3:
Once the white candle has been removed from the mold (do not trim the wick yet), melt enough wax to completely cover the size of your first candle, since this wax will be used for an overdip. For our 3” x 3.5” candle in the 2 lb. pouring pitcher, we melted approximately 1 lb. of wax for the overdip. Add Navy Blue dye, and fragrance if desired.
Step 4:
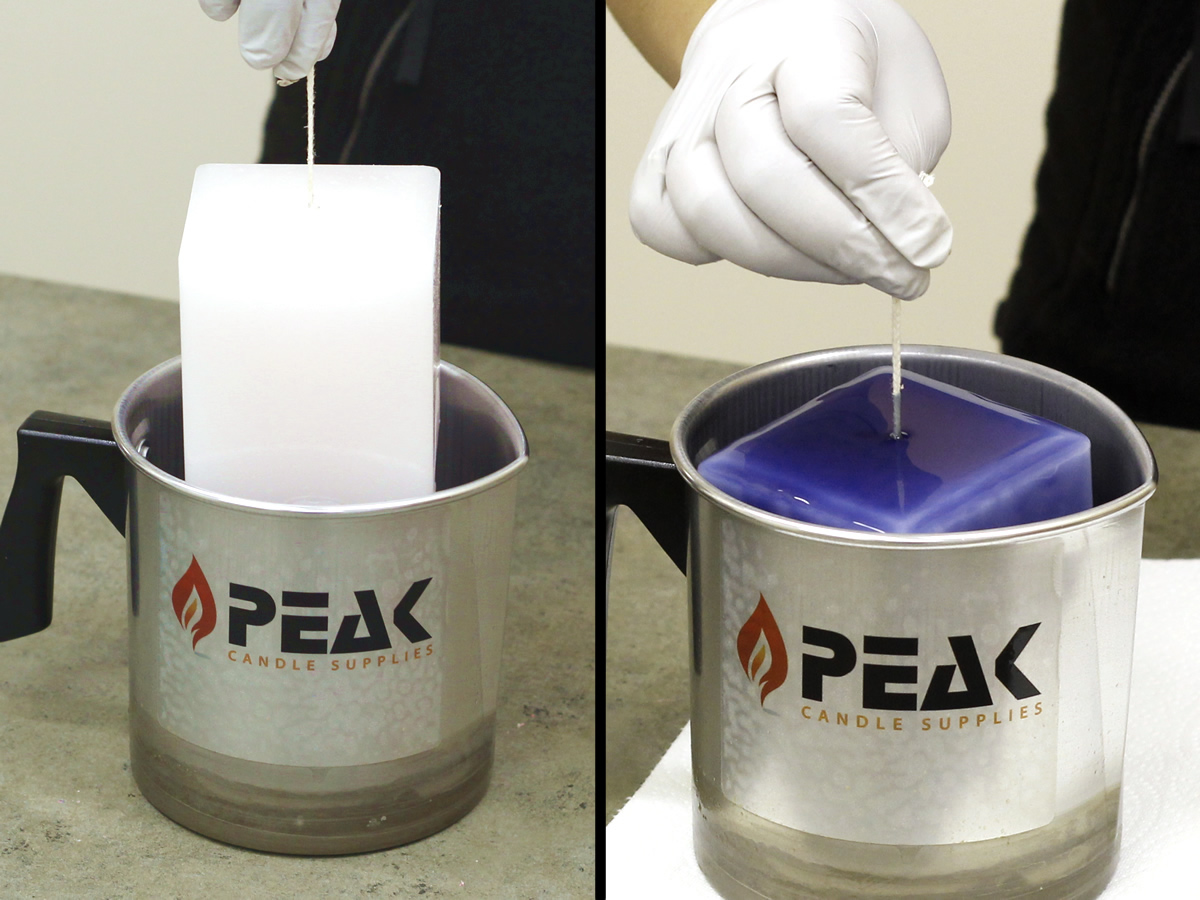
With your blue wax at approximately 165-170 degrees F., place a paper towel or newspaper on your work surface and remove the wax from the heat. Holding the candle by the wick on the top of the candle, carefully dip it into the blue wax until it is completely submerged. Smoothly remove the candle from the wax and place on the paper towel to cool momentarily. Continue this process until a desired thickness of about 1/8 inch is achieved.
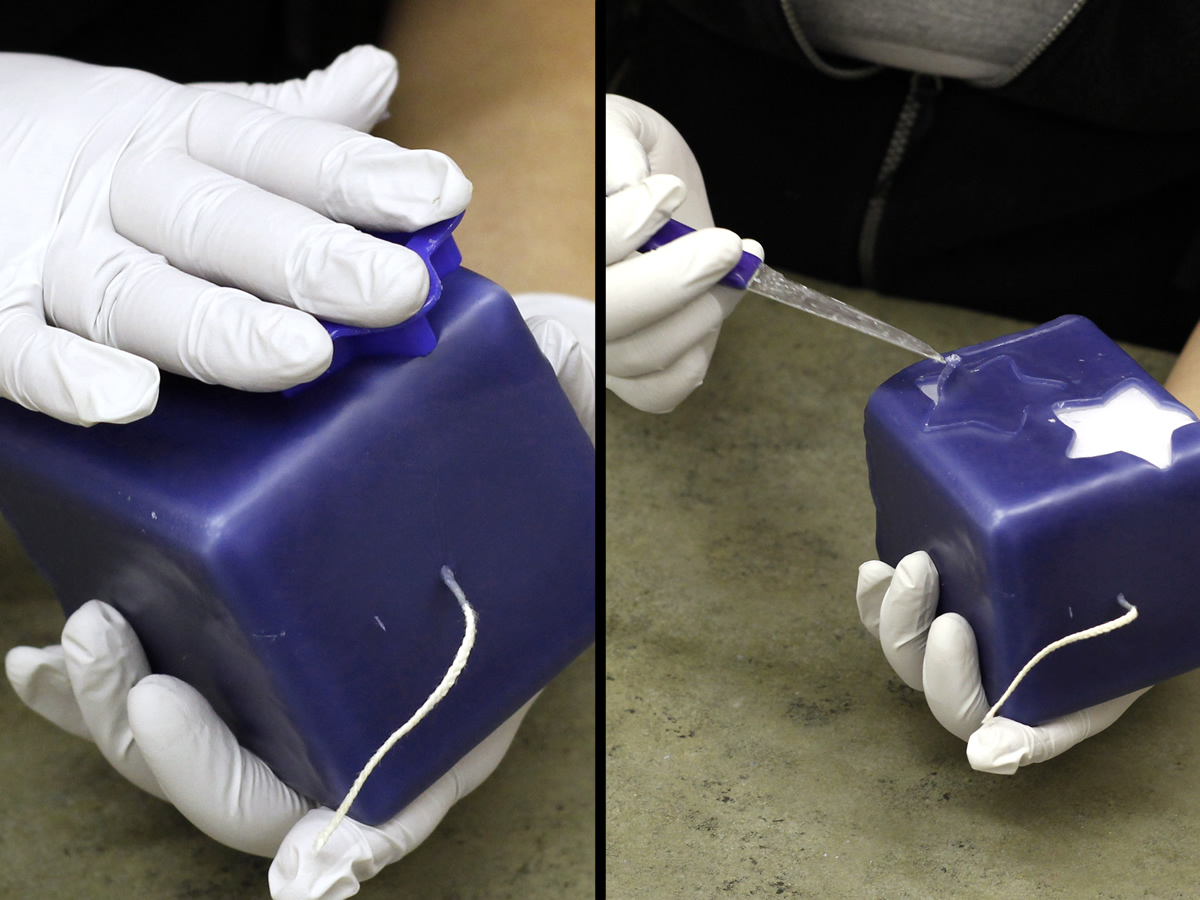
Step 5:
While the blue layer of wax is still warm and pliable, use a cookie cutter to make star-shaped cutouts. Then, use a paring knife to gently peel the cutouts off the candle, leaving white stars showing under the blue layer. Allow to cool completely and trim the wick. Your stars candle is complete!
Step 6:
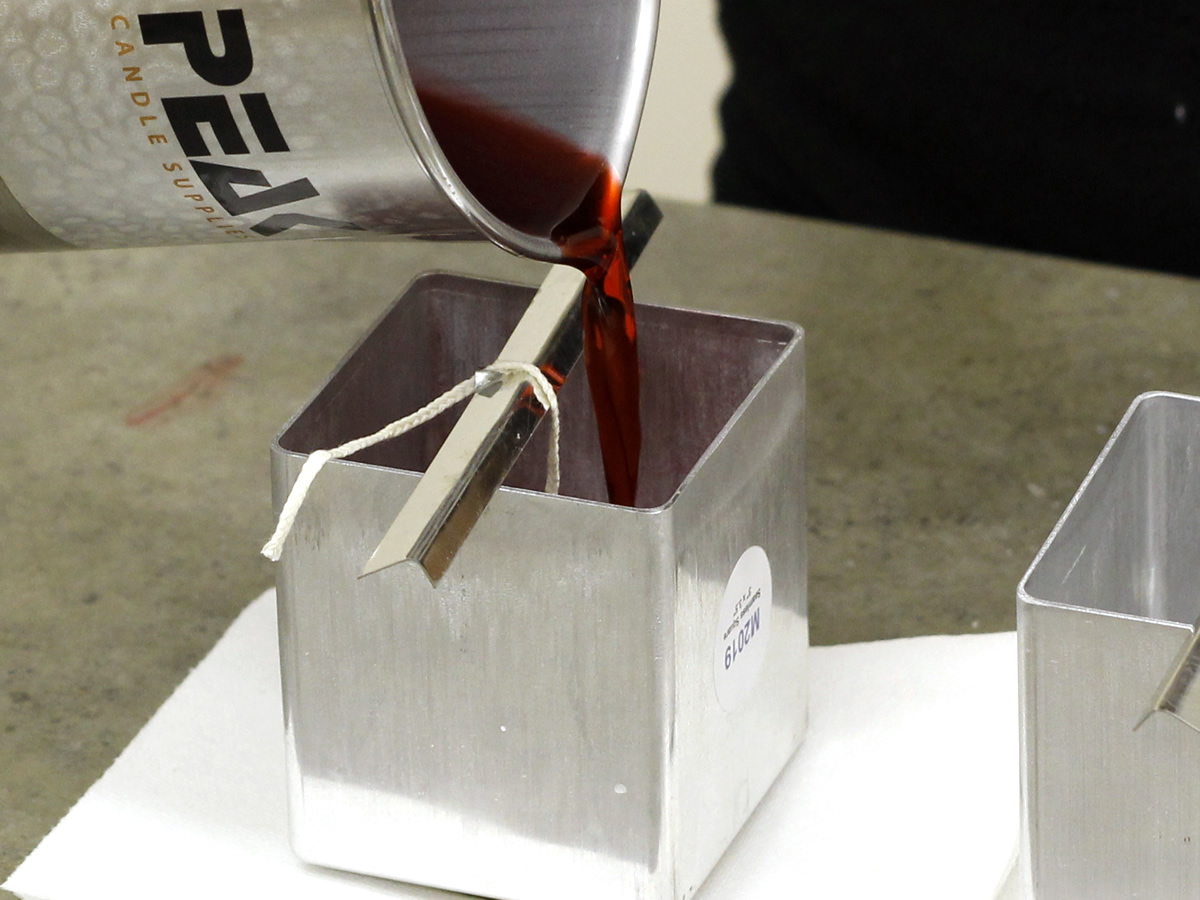
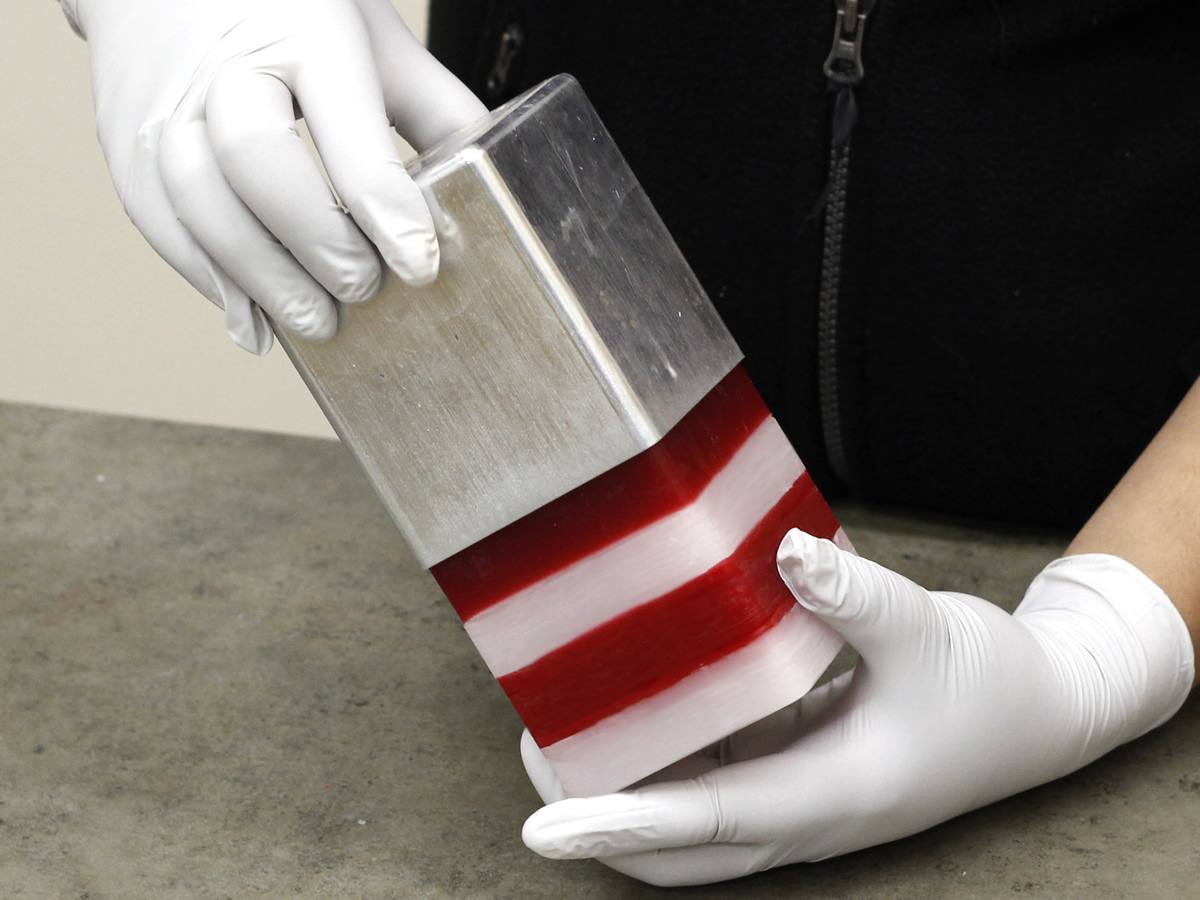
Melt some more wax and add fragrance (if desired) and Red dye. If you have a heat gun, pre-heat your molds to help achieve a smooth finished appearance. At about 175 degrees, pour the first layer to your desired level in both molds. For ours, we did 4 layers, each about 1 inch thick. Allow this layer to cool while preparing your white wax.
Step 7:
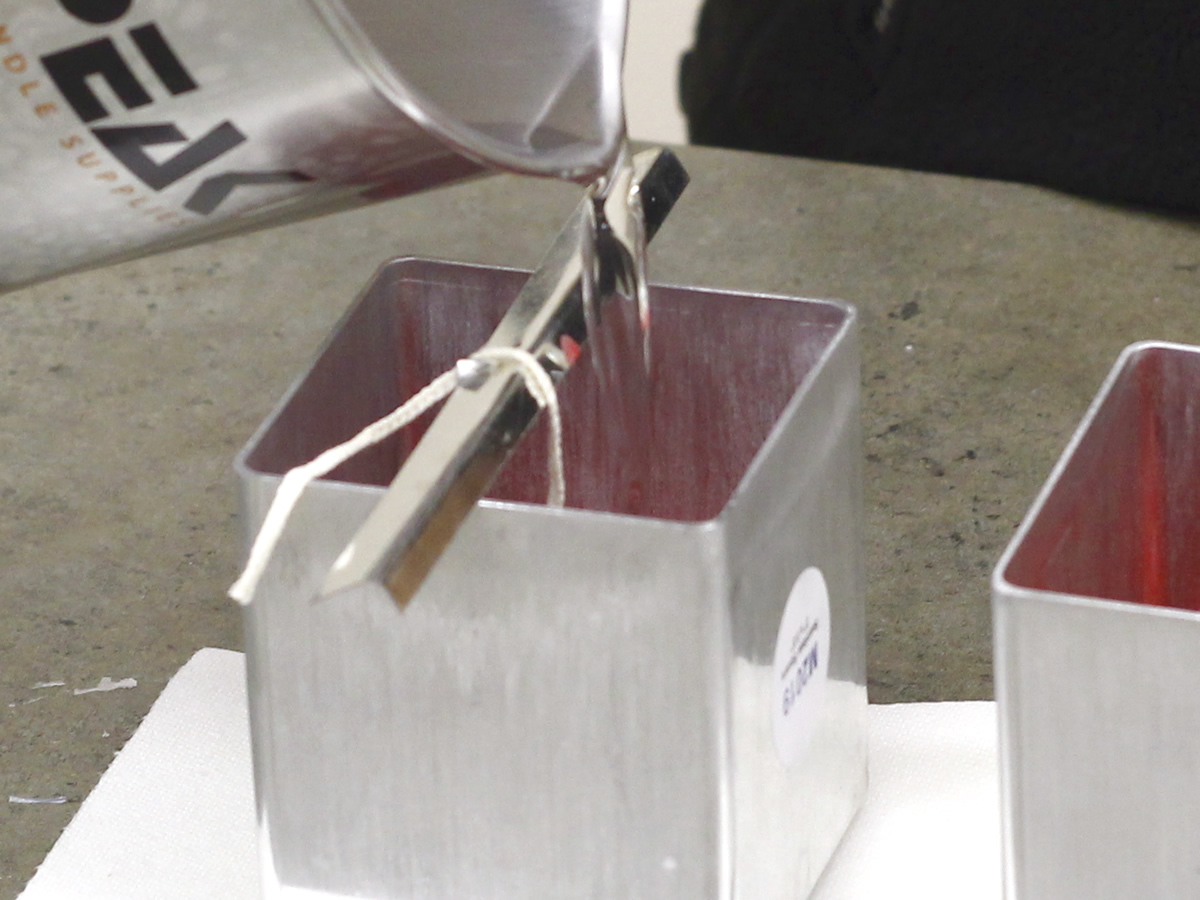
Melt the wax for the white layers, adding fragrance and Stearic Acid if desired. (Stearic Acid will increase the whiteness and opacity of the wax, and help prevent color bleeding). When the red layer has cooled enough to be somewhat firm but still pliable to the touch, use a heat gun to heat the section of the mold just above the first layer, taking care not to re-melt the red wax. Pour a very thin white layer at about 175-180 degrees. This layer will absorb any color bleeding from the red wax. Allow this layer to cool somewhat, then pour the rest of the white layer at about 170-175 degrees.
Step 8:
Repeat this process until you have the desired number of layers for your candle. You only need to pour the thin intermediate layer when pouring the white wax. When finished, allow the candle to cool completely. You should not need to poke relief holes since the layered technique will minimize shrinkage.
Step 9:
Once the candles are completely cool, remove them from the molds and trim the wick. Arrange the candles in a line starting with the stars candle, and now you have festive 4th of July décor! These are perfect for table centerpieces or as a focal point on a mantelpiece or windowsill!

Recent Comments